Top Five Tips for Watercolour Sketching (and Sketching St Ives)
Do you feel a bit scared about going sketching outside, or “au Plein Air” if we’re going talk arty… It just means “outdoors” in French, but sounds so impressive! ;)
Well, the thought of it may be a bit daunting, but it can turn into one of the most rewarding hobbies you ever try. And of course, if you start sketching regularly your drawing skills will improve really quickly.
I’ve been sketching since I was ten years old (my dad was an artist, so I was really lucky to be able to go with him and learn on the spot) and here are my top five tips to help you get started with sketching outdoors. You need remarkably little equipment to go sketching(and below I show how to pack a mini sketching kit.)
These are all things I do with my students on my sketchbook workshops, plus easy ways to choose what to focus in on and simplify it all. Just like my dad did for me when I started sketching outdoors with him when I was just 10 years old!
My Top Five Tips for Sketching For Beginners
No 1 Keep It Light!
If your sketching kit is small and light weight you’re much more likely to take it with you and use it more often.
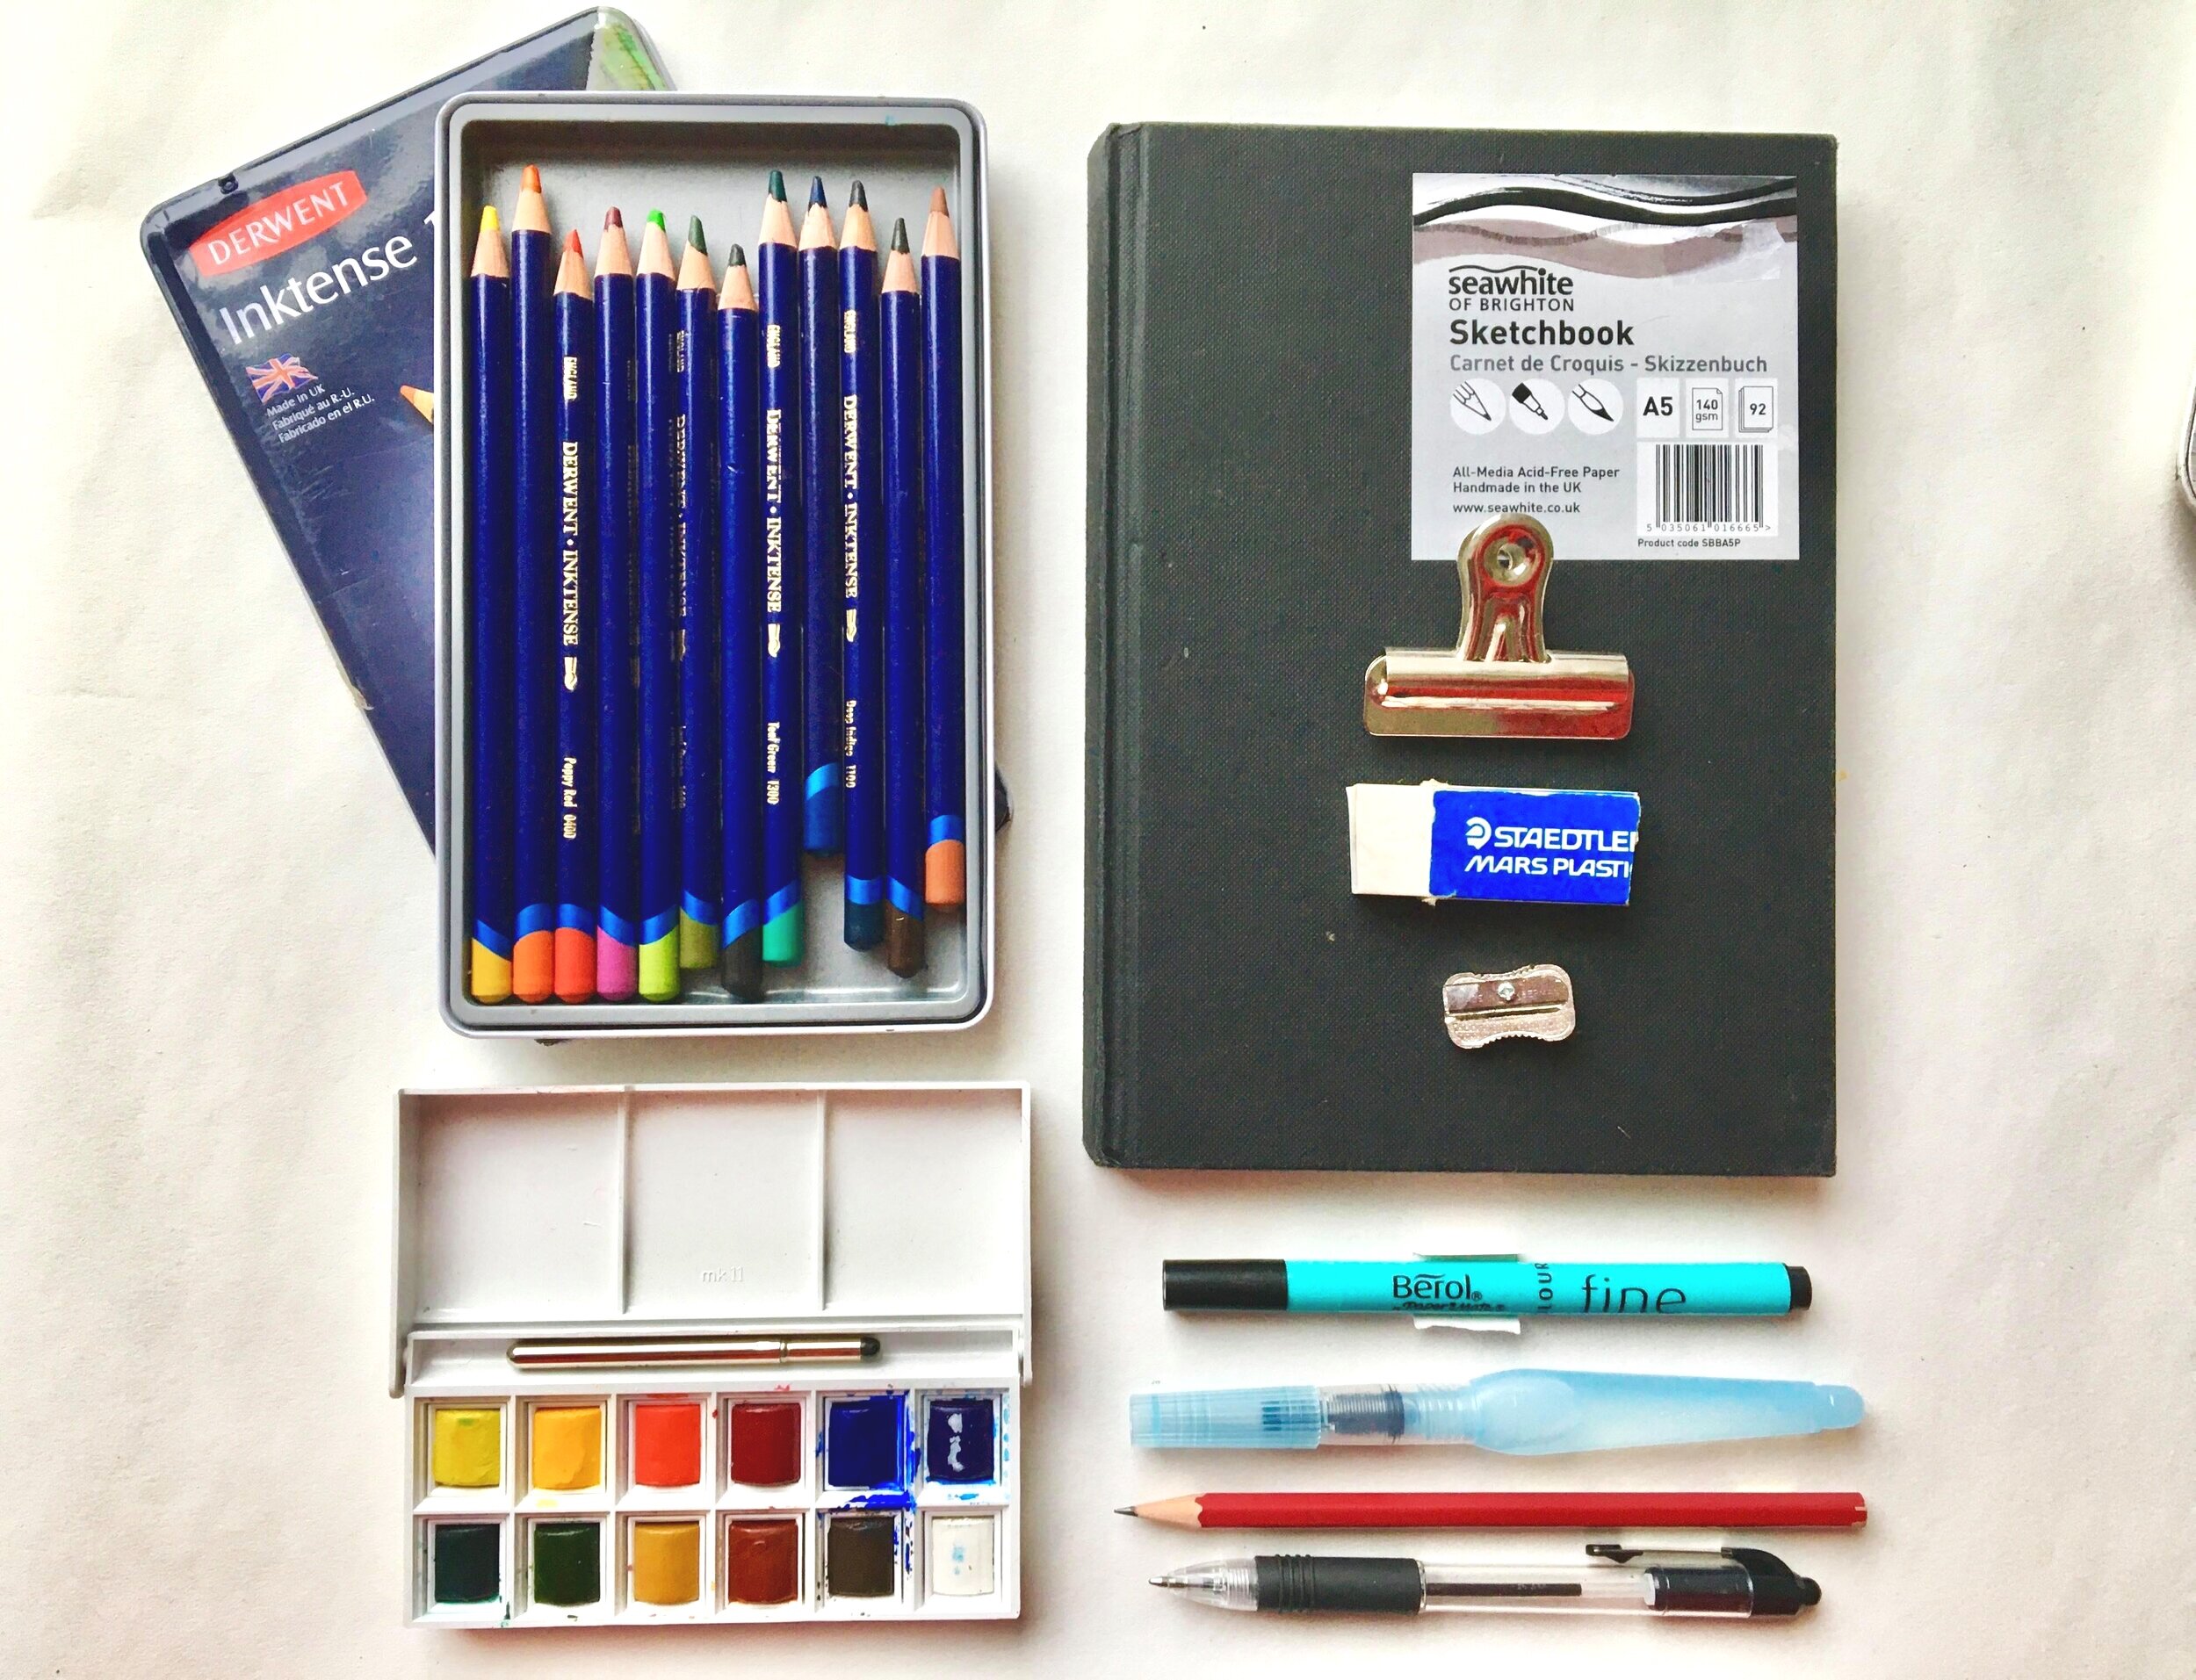
My minimum kit consists of:
· small hardback sketchbook, A5 or A6 size, containing thick cartridge paper (don’t buy a super-cheap sketchbook: the paper will be so poor and thin that it will fall apart when you use a wet brush on it)
· a black biro & a Berol Colour Fine liner in black (this has water soluble ink)
· 2B pencil, plastic eraser, pencil sharpener
· A Water brush: this has a fillable water barrel connected to a brush which feeds the brush tip with water. So, no need to take a water pot or bottle.
· If you’d like to add colour: Inktense water soluble pencils, a tin of 12, or a tiny watercolour box, sometimes called a “pochette”. I use the Cotman Sketchers’ Watercolour Pocket Box by Winsor & Newton.
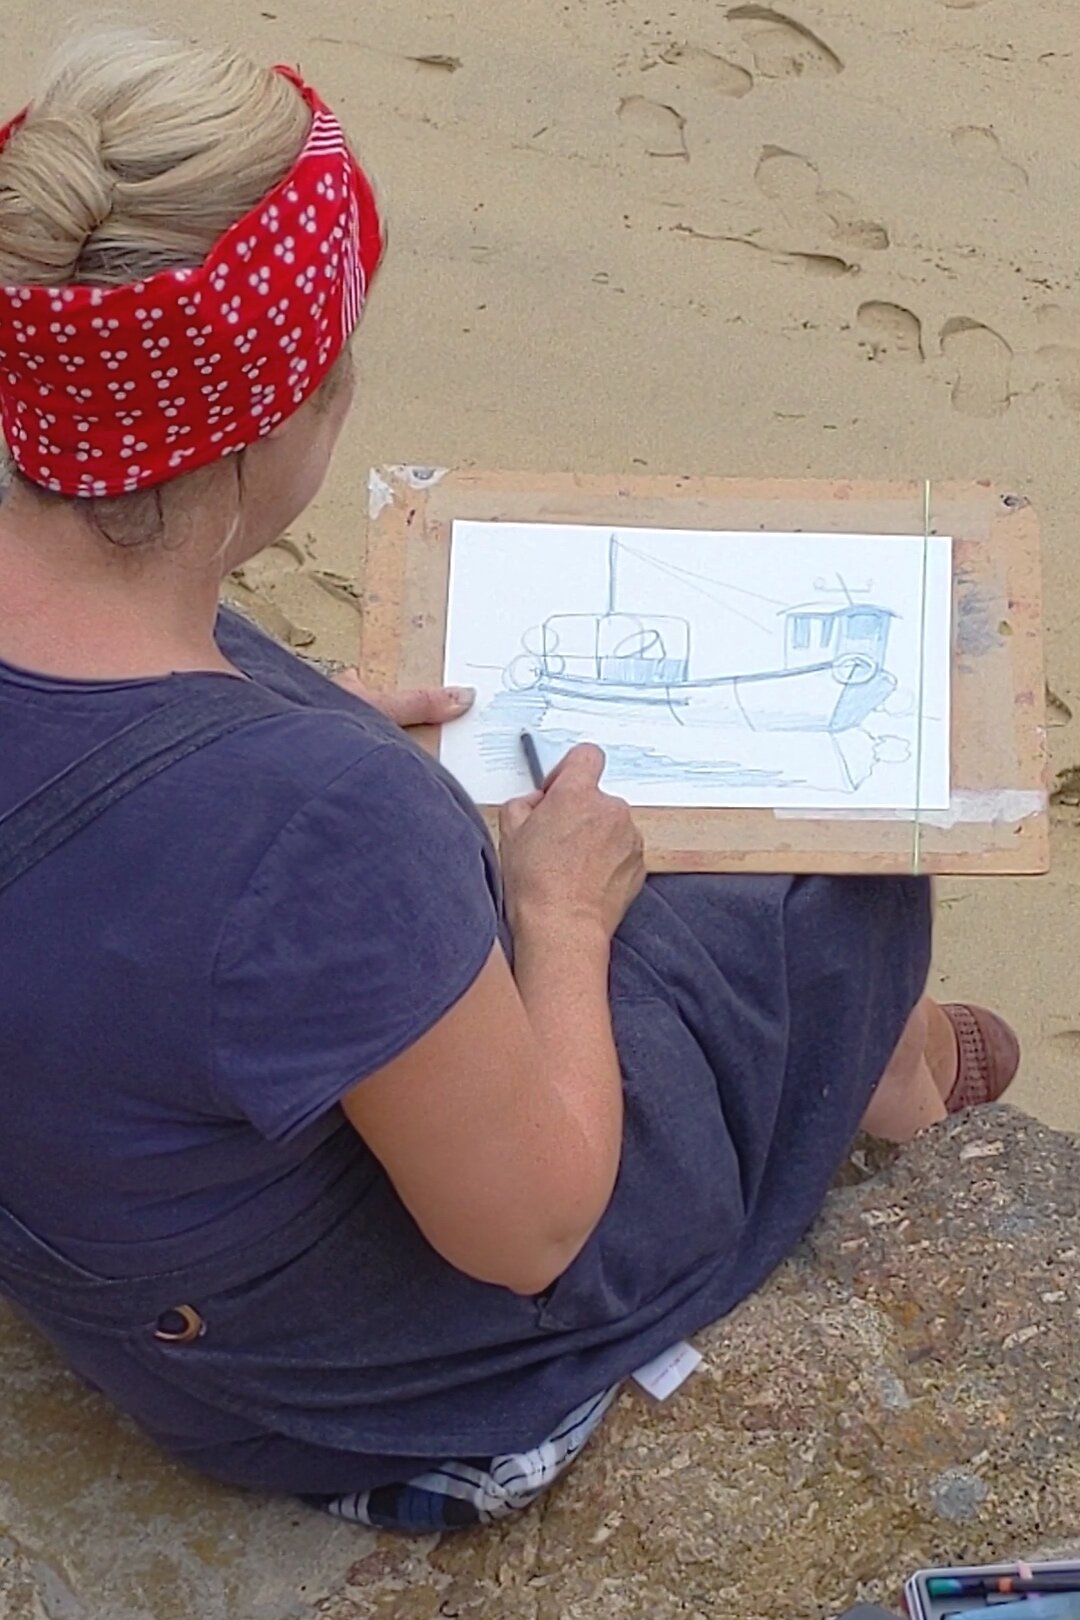
No 2 Sitting Pretty…
Choose your sketching spot carefully: obviously you need to have a good view of the thing you’re going to sketch, but when you find somewhere you like, do take time to wander around a little if you can and see if there’s an even betterspot to view it nearby.
You could see whether the light and shadow on your subject is better elsewhere, or if looking at it from higher up (from up a hill or standing on a wall or some steps makes it look more interesting.)
It’s handy to have a lightweight sketching stool with you if you need to sit, (I nearly always forget. I’ve found that a cushion inside a carrier bag is a handy emergency solution!)
No 3 Deflecting Unwanted Spectators!
Whether you’re a newbie or a pro at sketching, it’s pretty likely you’ll prefer to do it without being observed by others. If you’re not too comfortable with the idea of people watching from behind you as you sketch then try these next tips. I’ve used them all over the years and they work a treat :) Now this may make me seem like a realmeanie but I do actually enjoy speaking to people who come to look: but of course I’ve had years of experience, and I’m not so worried about how my drawings look, but if you’re just starting to sketch and the thought of someone watching you draw fills you with horror, then try these tips.
1. Try sitting or standing with your back to a wall (people can’t get behind you)
2. Wear a sun hat with a brim, (people seem less likely to speak to you if they can’t see your eyes;)
3. Wearearphones or earbudseven if you’re not actually listening to music. People are usually reluctant to disturb you if they think you’re listening to something. And you can pretend you can’t hear them if they speak to you.
4. And if you really want to put people off then some mirrored sunglasses will keep the world at bay. But they might play havoc with your colours if you’re painting!
No 4 Keep it Simple
One of the most important things when you’re sketching is to Keep It Simple…
There’s a very big world out there, so just choose onesection of what you see, and select only the most important elementsof what interests you. One of the easiest ways to do this is to use a “viewfinder.”
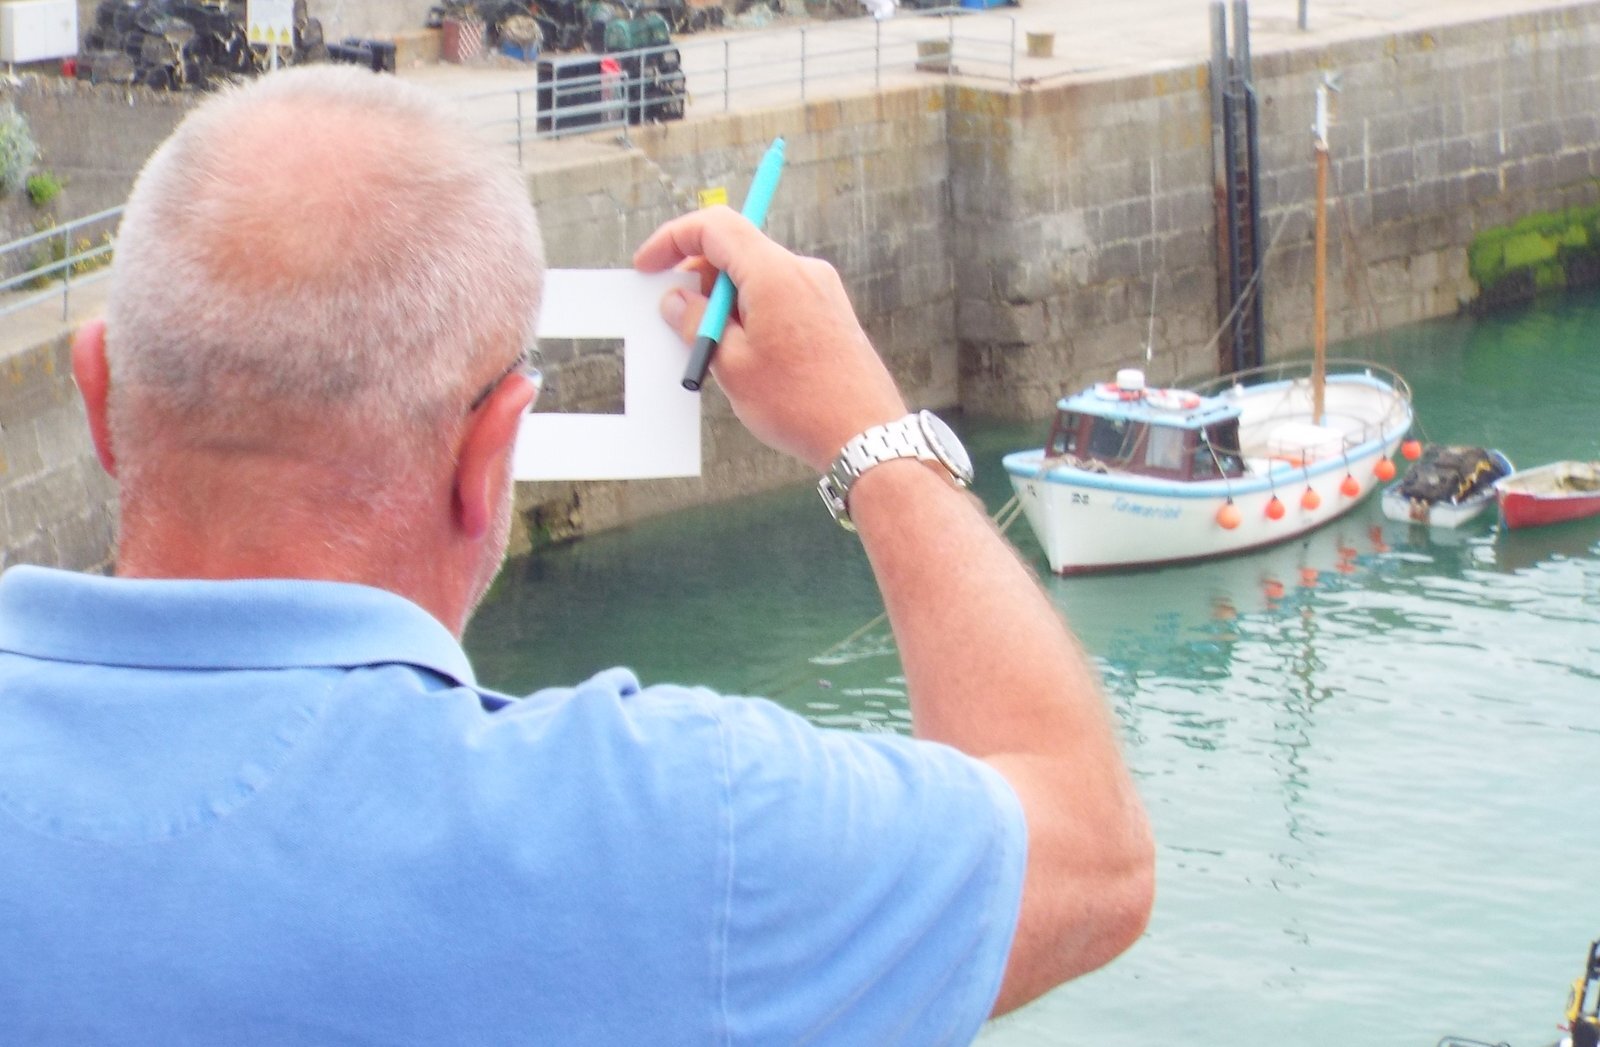
“What is a viewfinder?”
It’s a really low-tech tool, but really useful. It’s simply a piece of thick paper or card with a square, rectangular or panoramic shaped hole cut out of the middle to look through at your subject matter. You can easily make them yourself out of the blank backs of old greetings cards; buy a couple of tiny card mounts (“mattes” in the USA) from a framing shop; or buy the more expensive transparent ones with grids at the art shop.
“How to use a viewfinder”
Close one eye and hold the viewfinder up in front of your open eye.
Whilst looking at your subject, move the viewfinder away from your eye (this will give a zooming-in effect to enlarge the things that interest you.) Move it back closer to your eye to include more of the scene in front of you. You can also move it higher or lower to change the view yet again. You’ll know when the view “just looks right.”
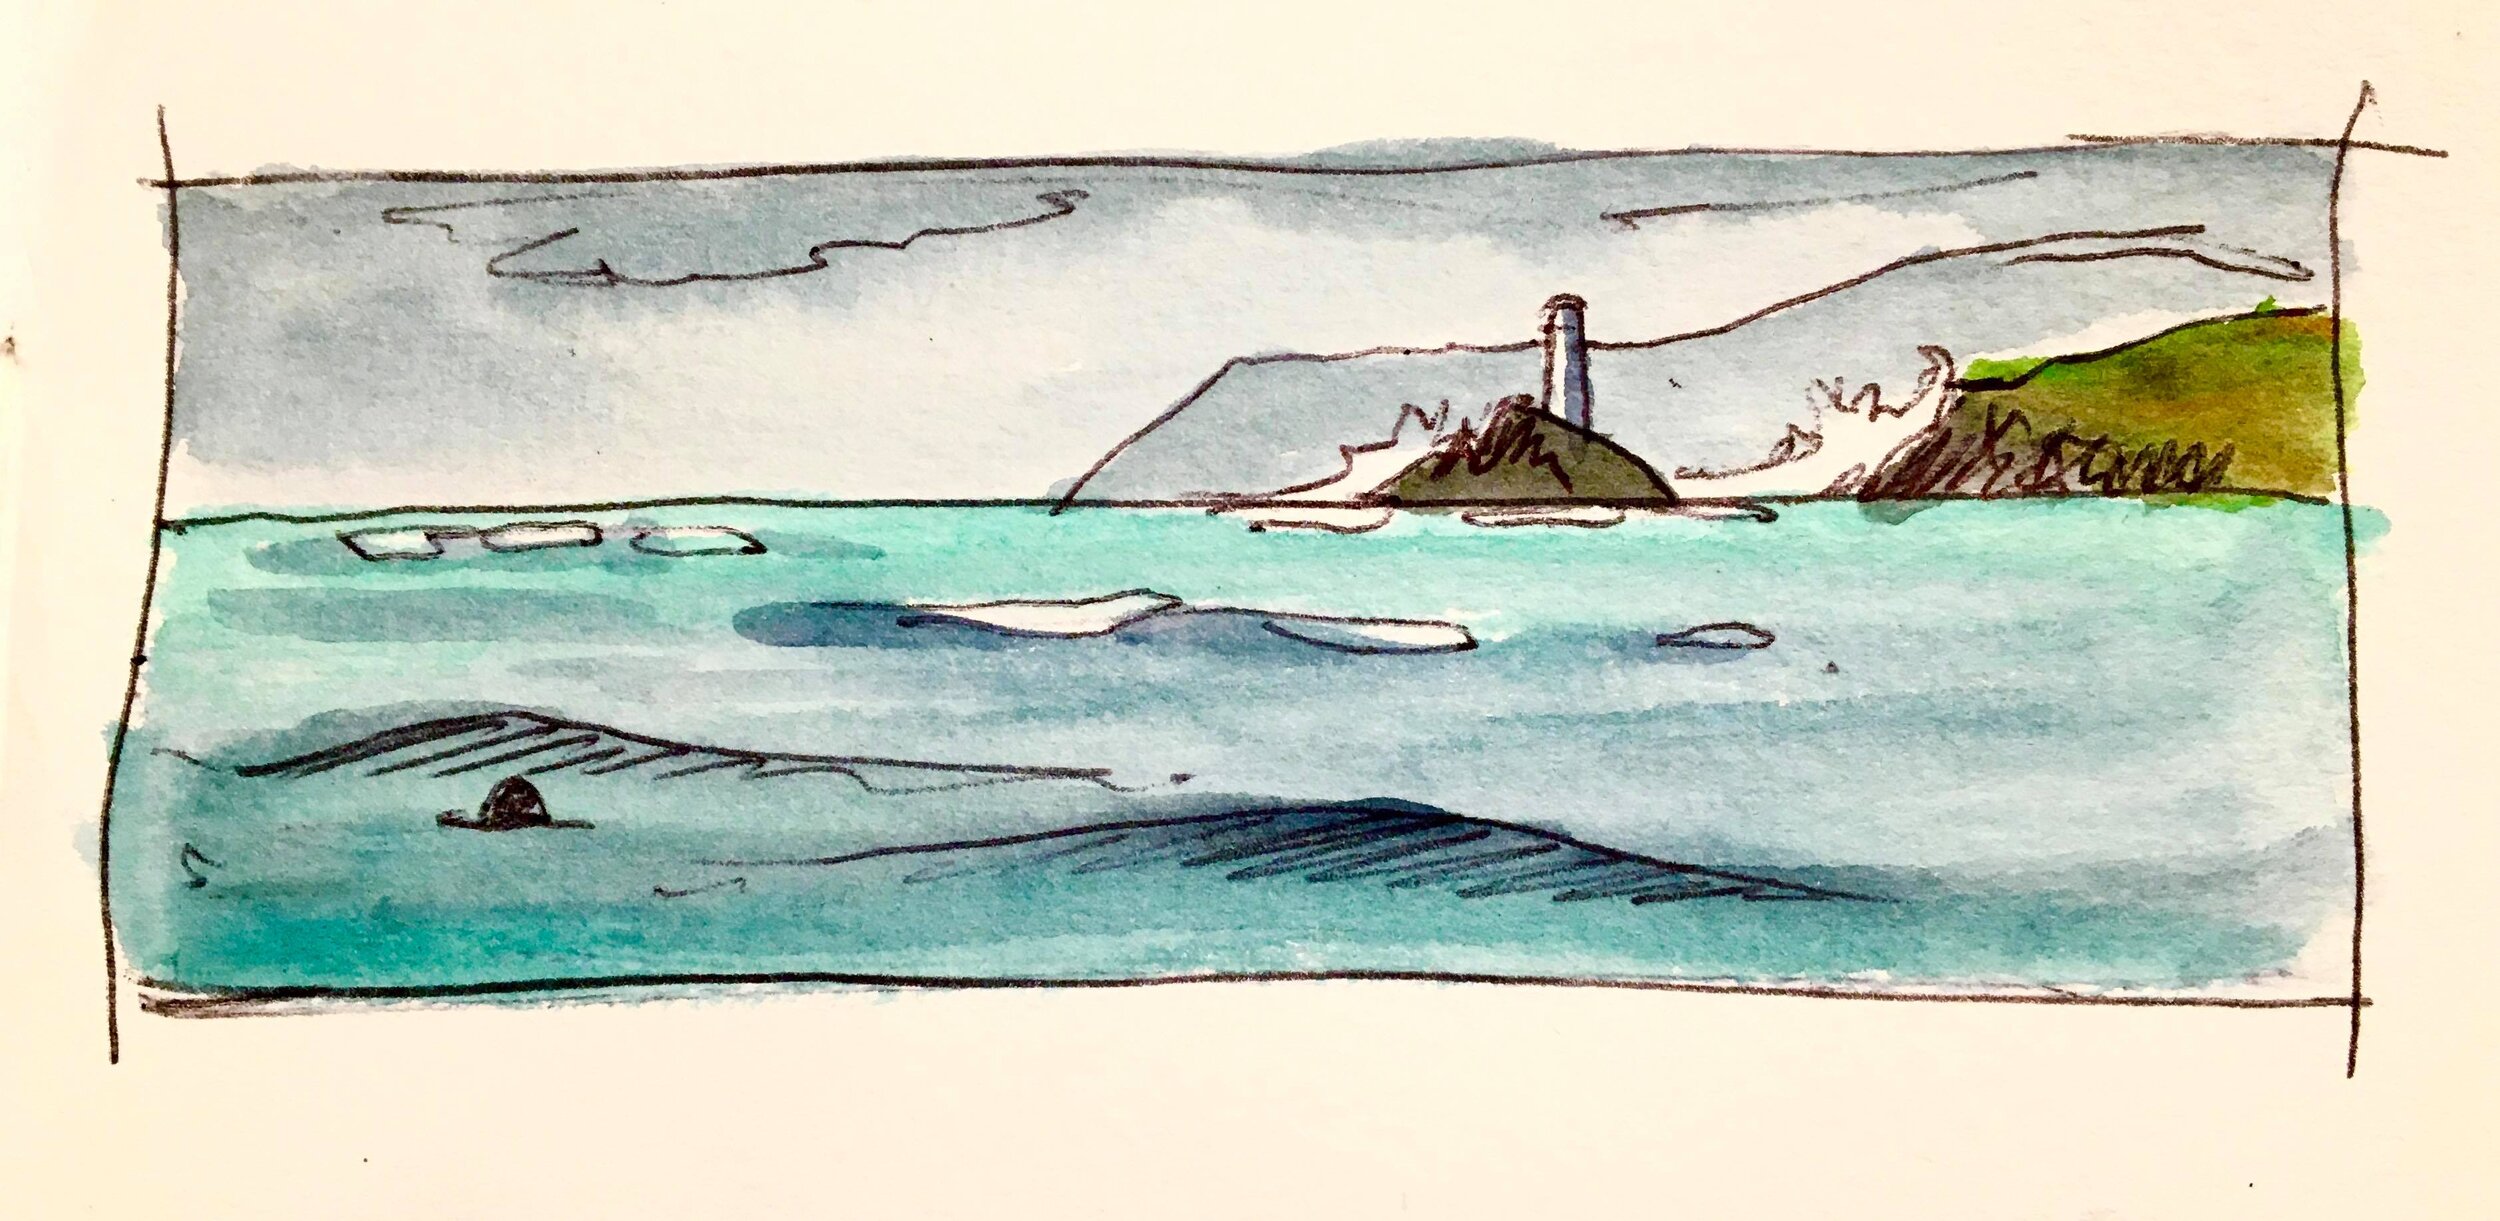
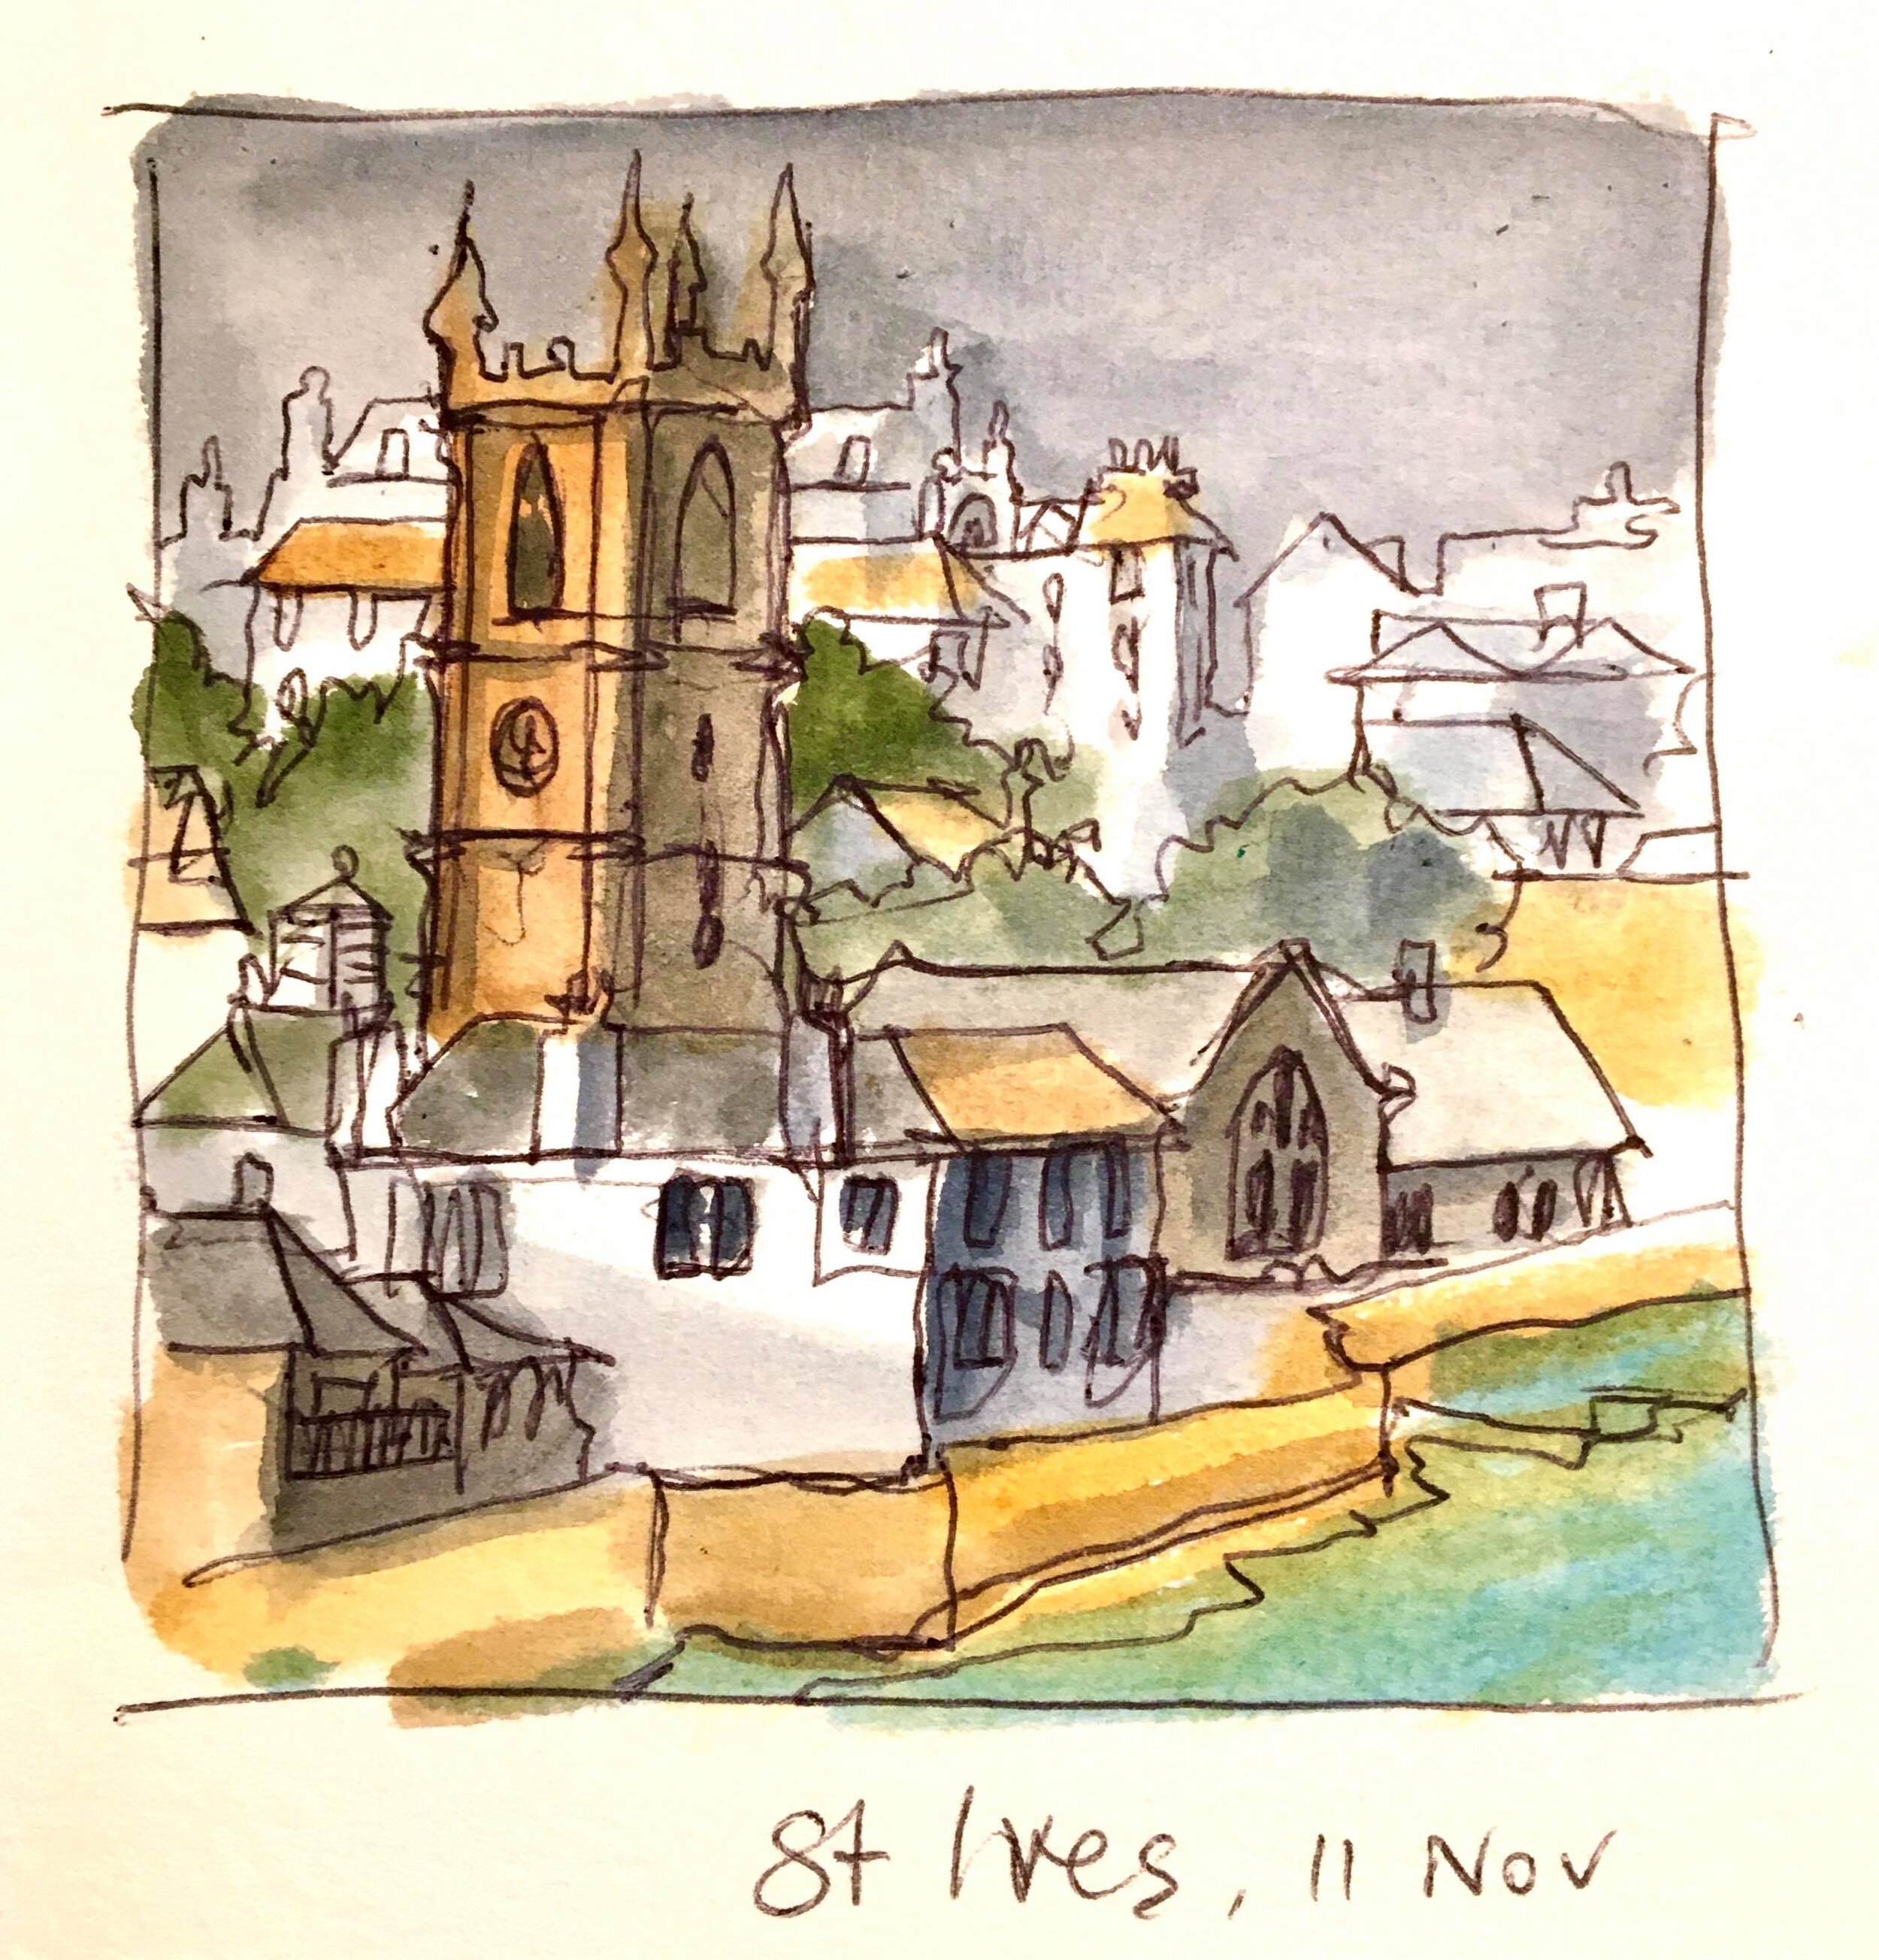
You can choose to draw a shape or “frame” in your sketch book to hold your sketch that suits your subject matter. E.g. if you’re drawing a large area of sea or the horizon then a “letterbox” or “panoramic” rectangle could be a good idea, like my St Ives Bay and Godrevy Lighthouse sketch here.
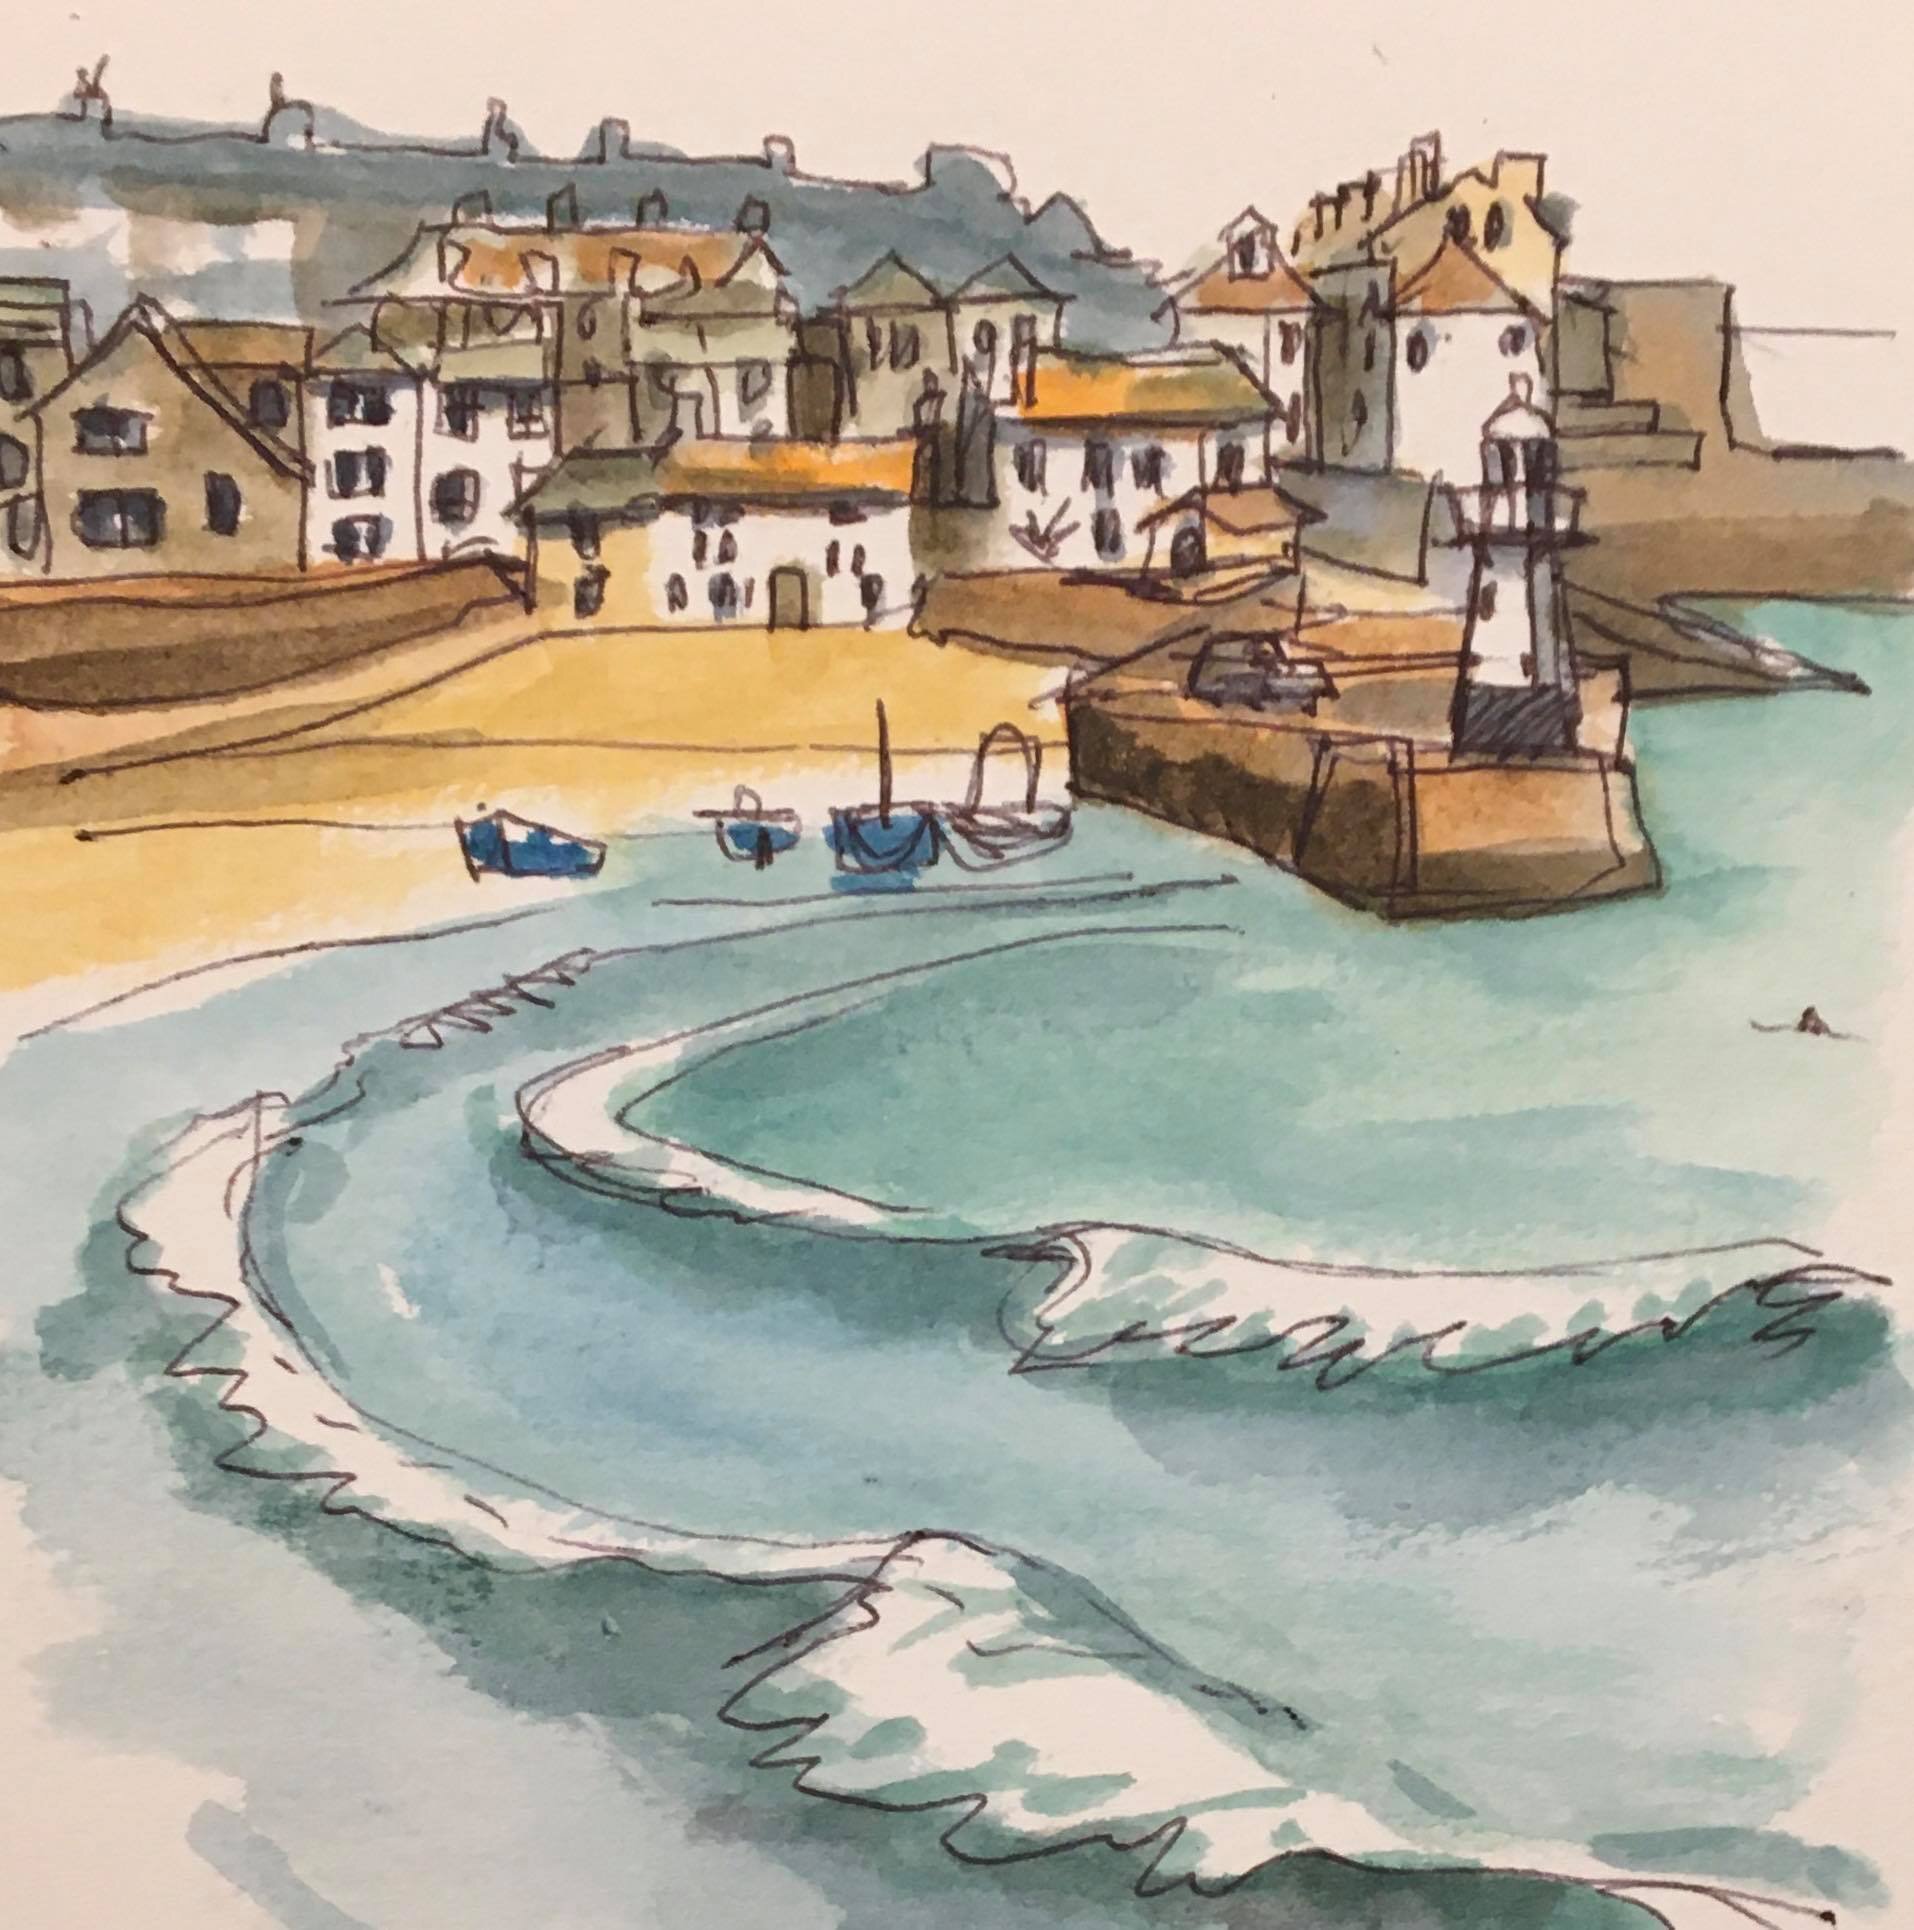
This sketch was done “live” but you can sketch from photos too, and I quite often use pics on my I Phone as a basis for sketches. (See my ‘3 Ways to Use Your Mobile Phone to Improve Your Sketching’ Blog).
You can use the crop tool in the editing software on the phone to experiment with different formats.
So you can crop and turn your normal photo into a tall thin rectangle, a square, a letterbox as well as the typical A sized portrait or landscape format.
No 5 Sketch the longest lines and biggest shapes first
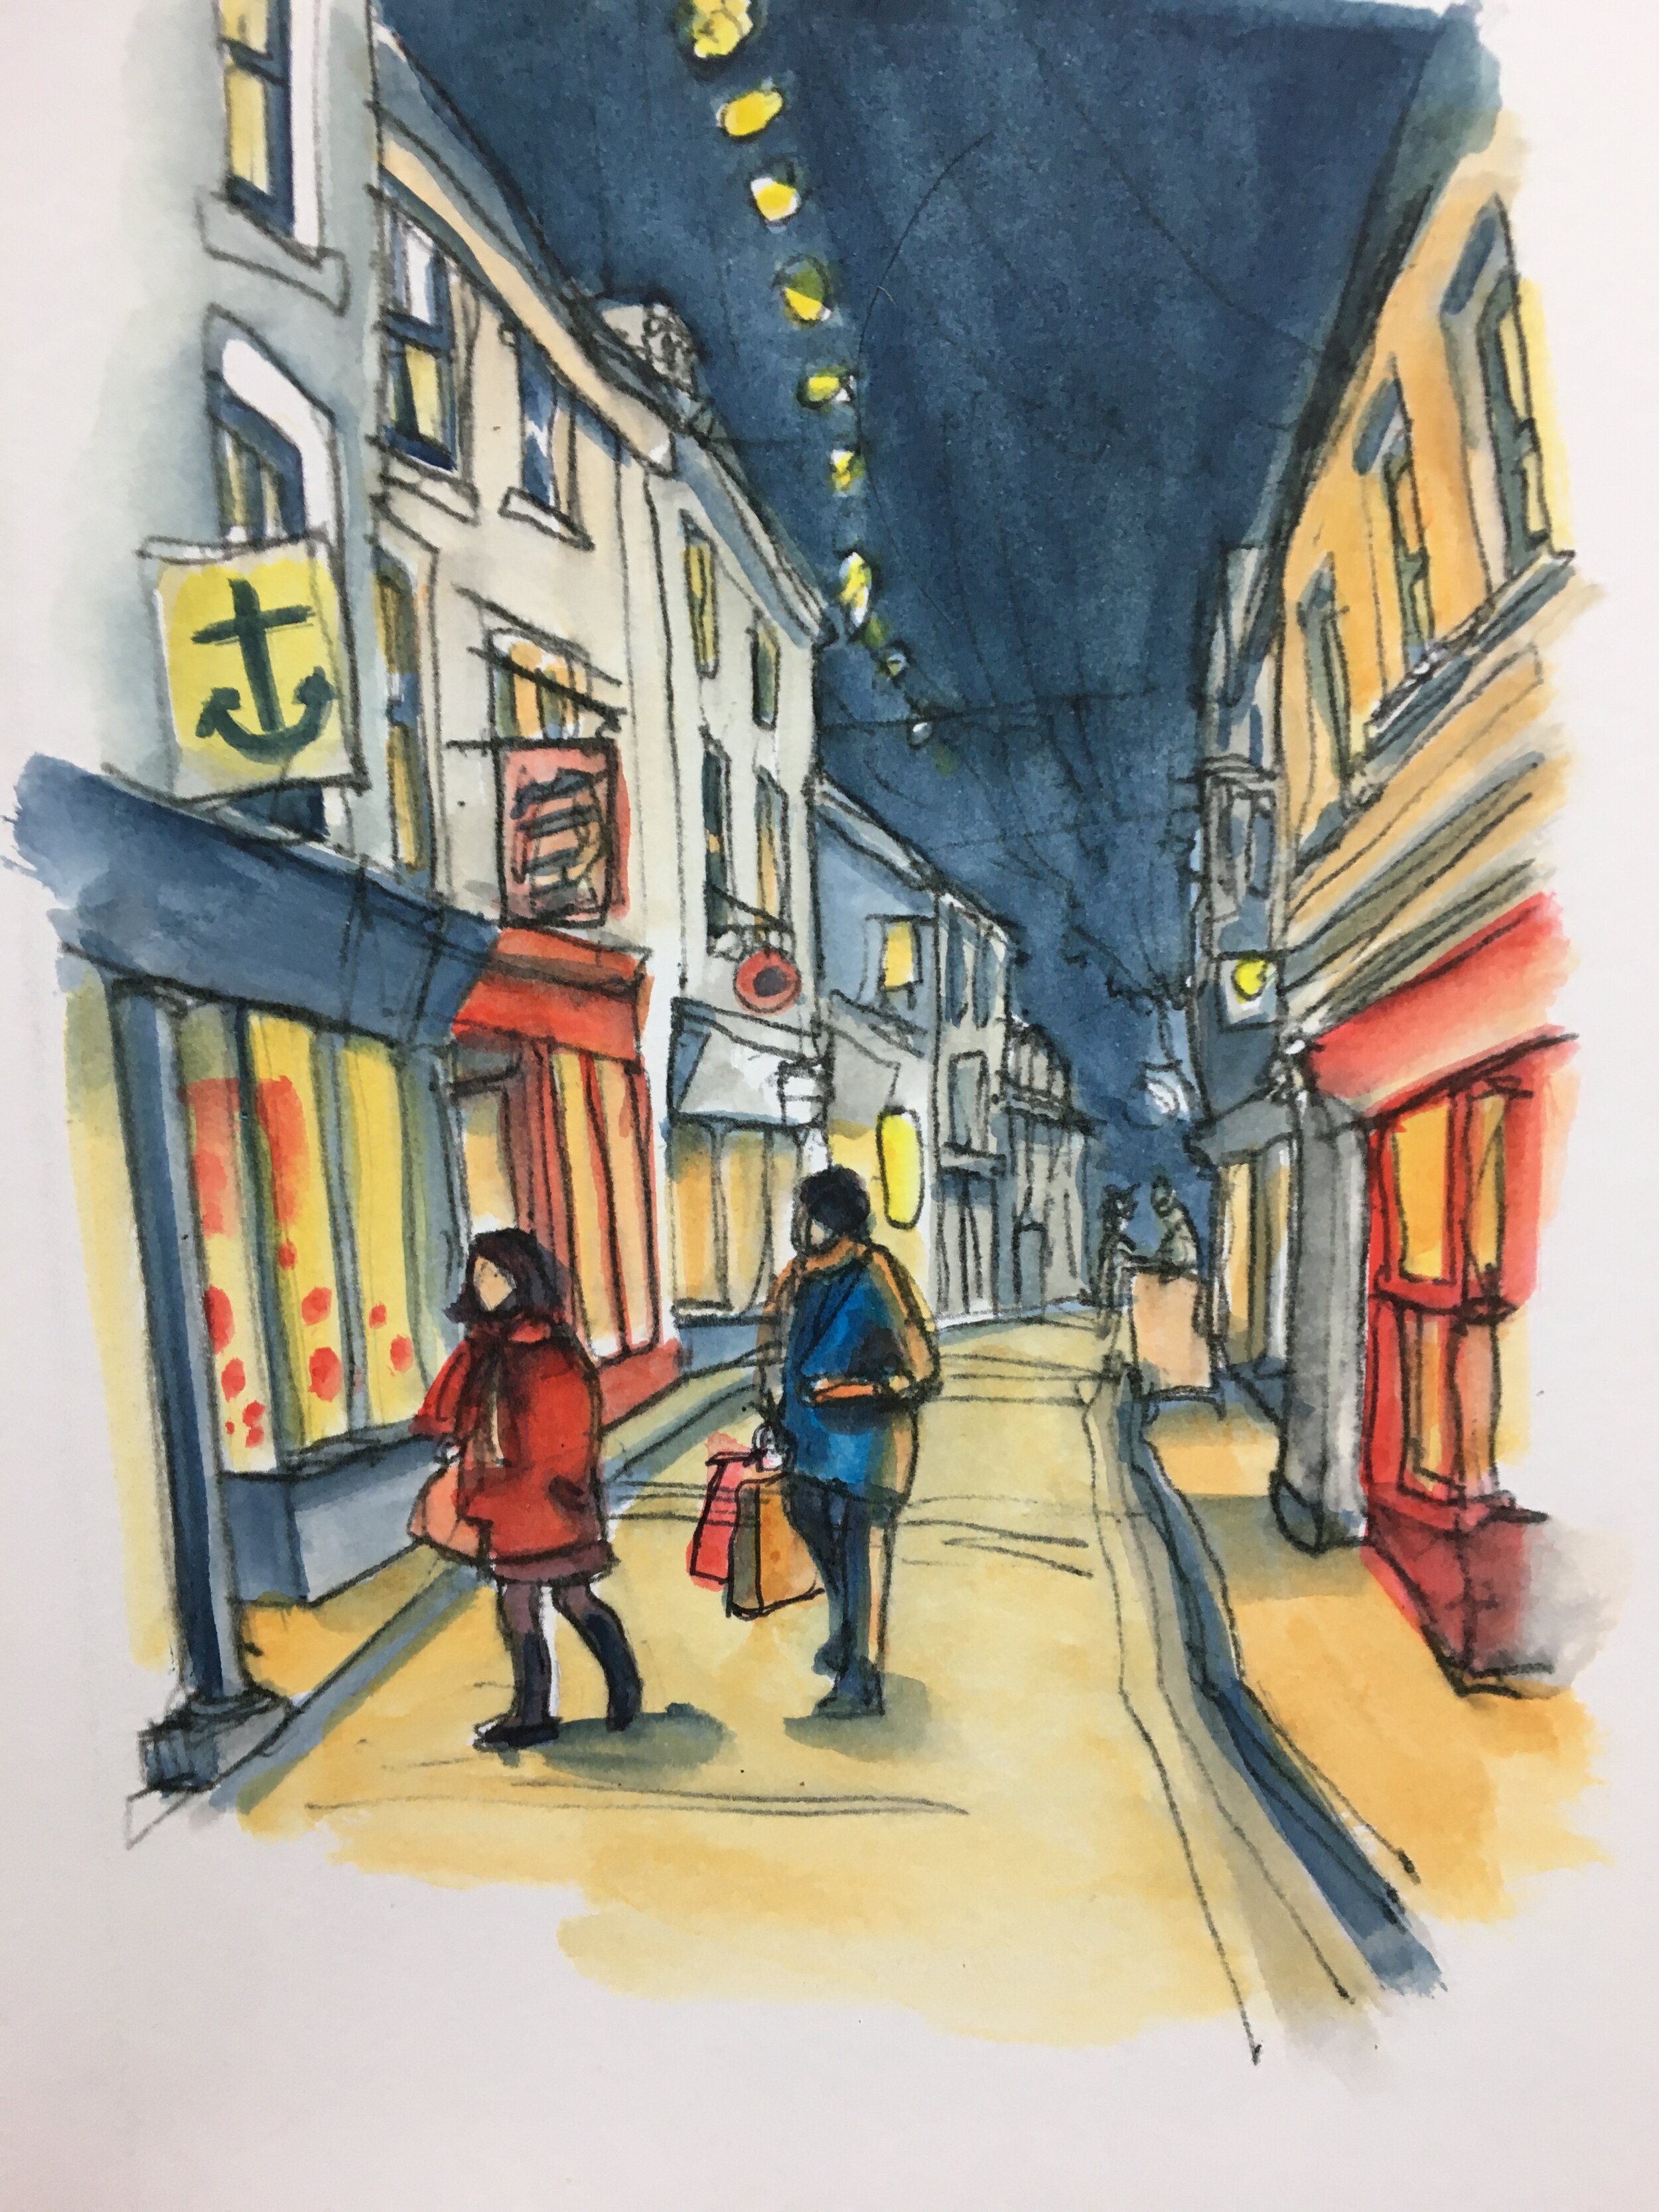
This is such useful advice. Once you’ve sketched in the longest lines you can see, (e.g. in the sketch of Christmas Shoppers in St Ives I first sketched the lines of the roofs and those of the pavements going into the distance. They made a shape roughly like two V shapes: the lines of the street point upwards and the lines of the rooves pointing downwards.
Once I had those lines established I could “fit in” the shop windows, the people and other details and know that everything would be to scale, and that I wouldn’t run out of space on the page (which can happen when you just being on one particular element in your drawing. The drawing keeps on growing outwards until you realise that one of the really important things you wanted to include won’t fit on the page when you come to it!)
So there you are! My top five tips on sketching for beginners: some of the essential tips I share with my student on my sketching courses in Cornwall. Have a look at what we do here: watercolourworkshops.co.uk (Insert link)
Do you think these will help you with your sketching? And have you any sketching tips you’d like to share?