3 Ways to Use Your Mobile Phone to Improve Your Sketching
There’s no substitute for looking at the real thing when you’re sketching, but the camera on your mobile phone can be really useful to make your drawing and sketching better in many situations.
Here are three ways to use your camera phone for sketching.
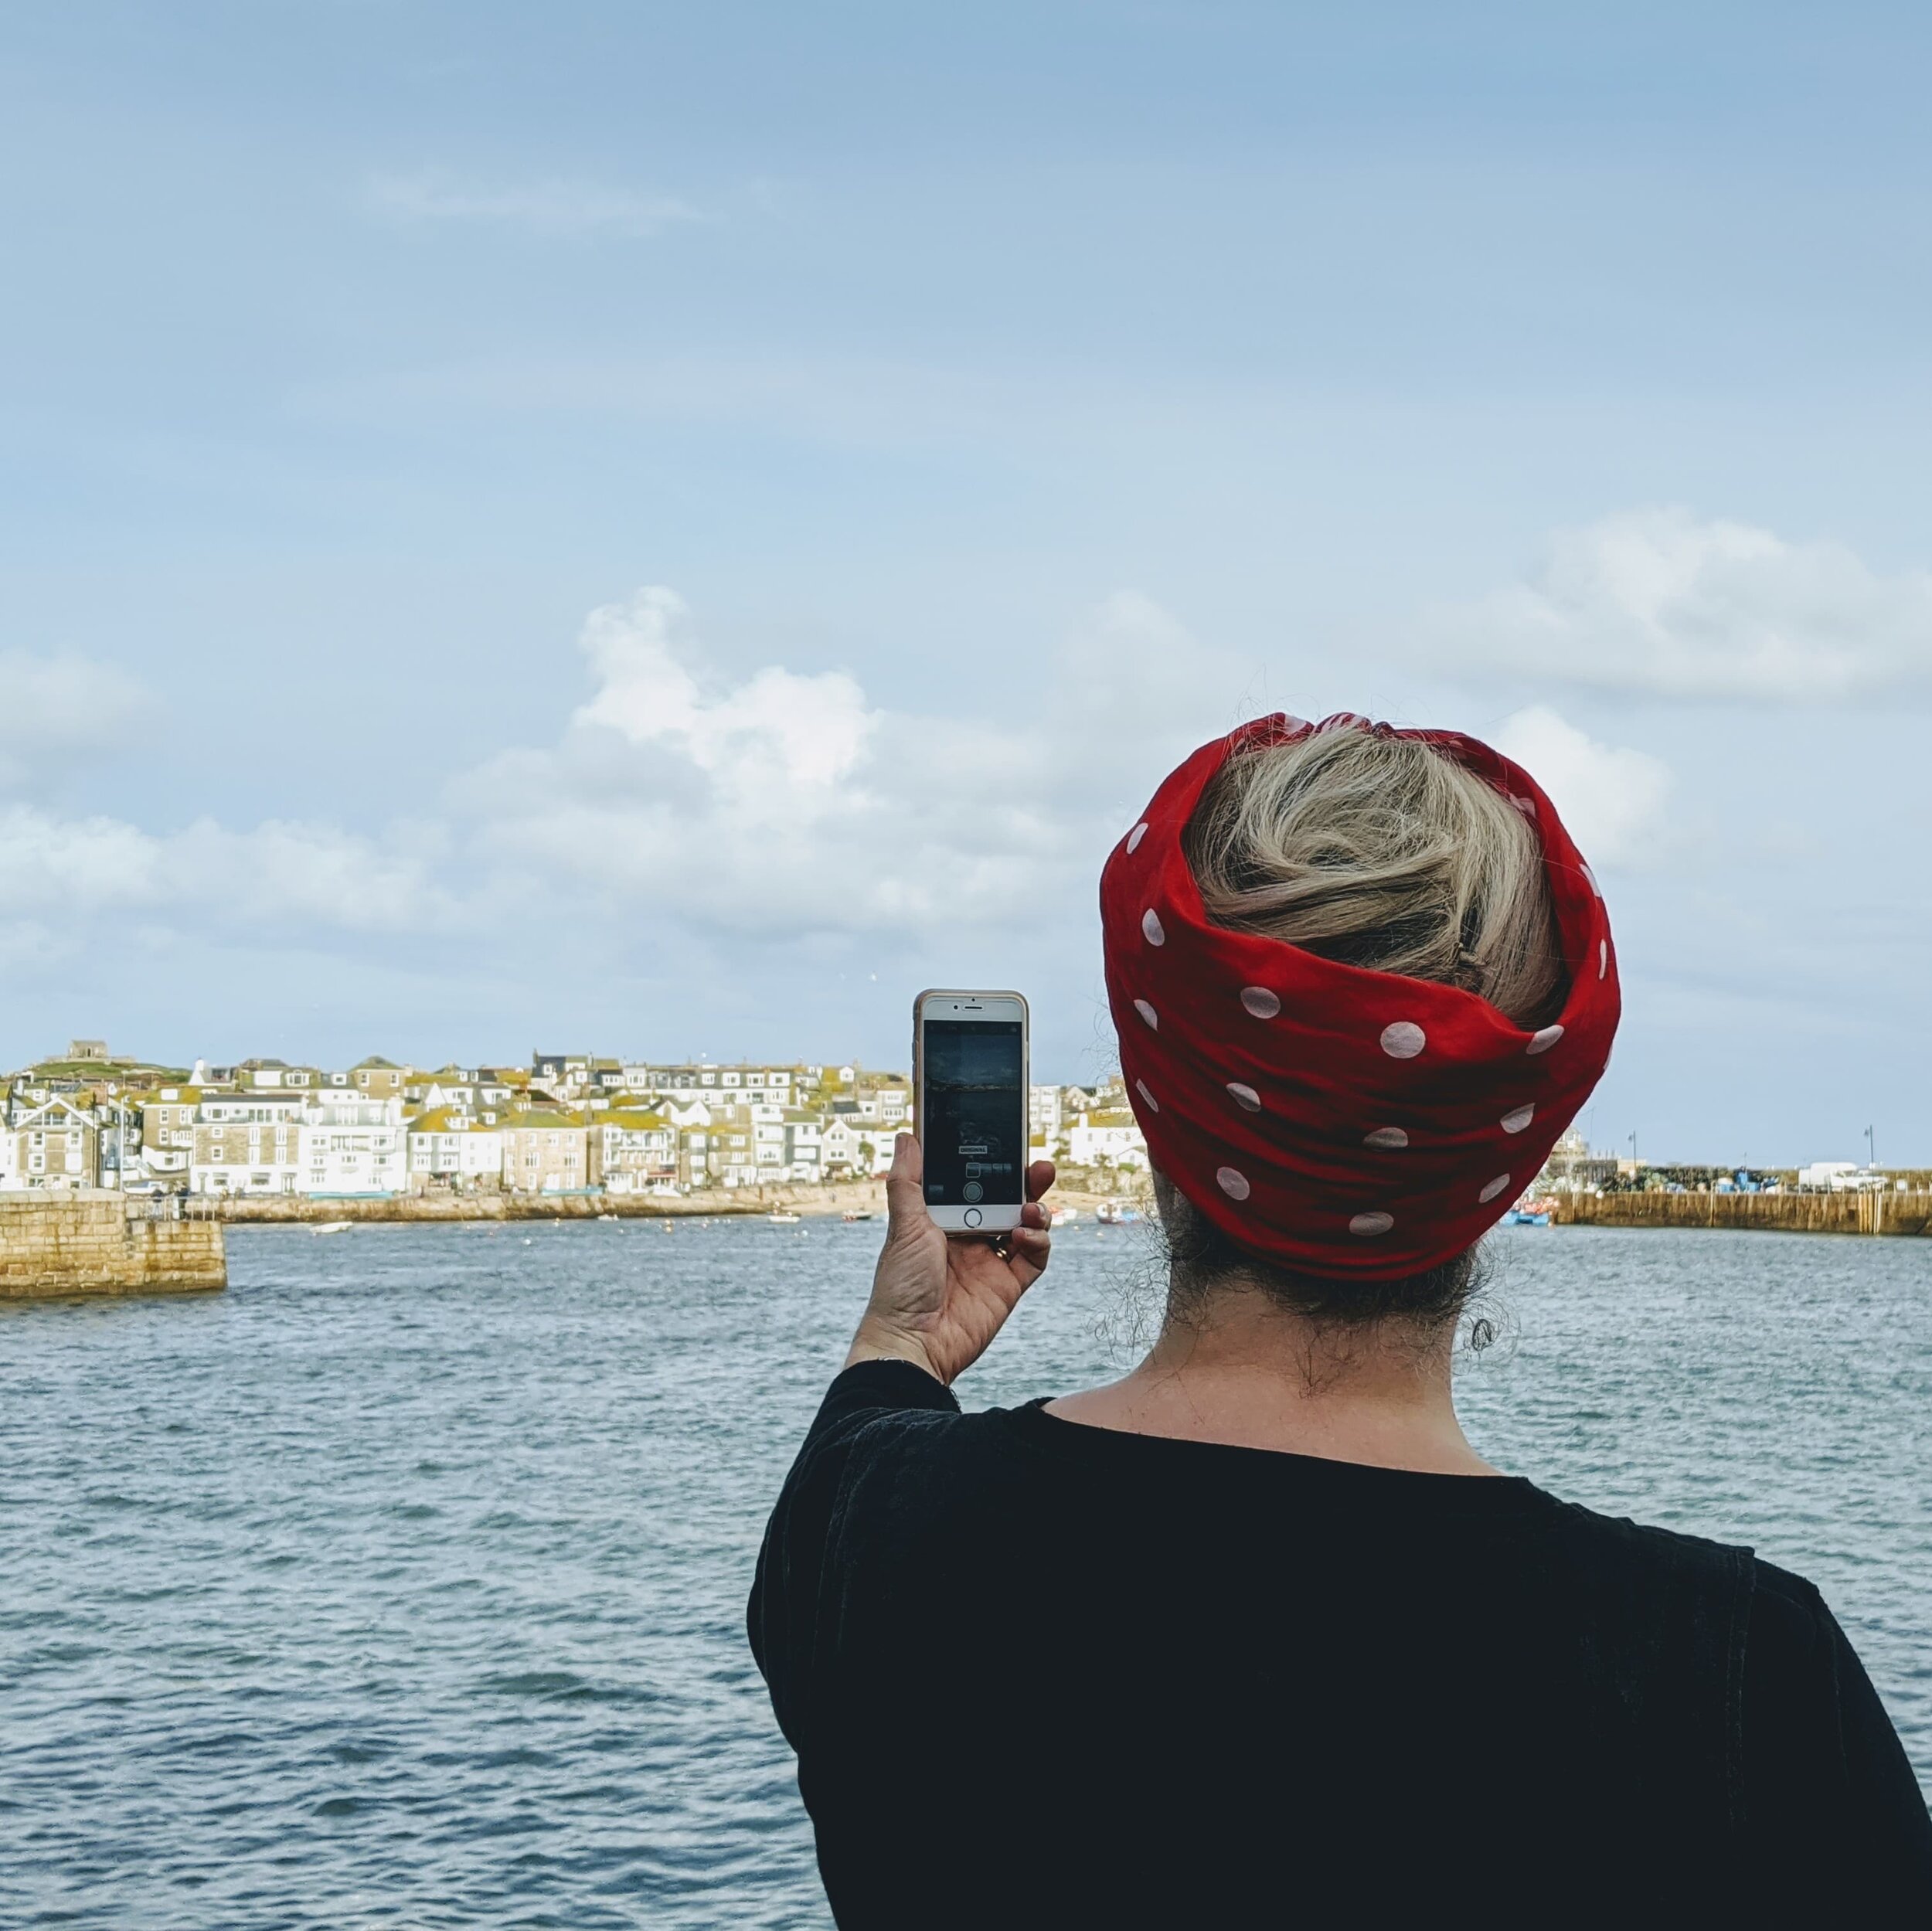
1. Take several photos of your subject for reference before you start.
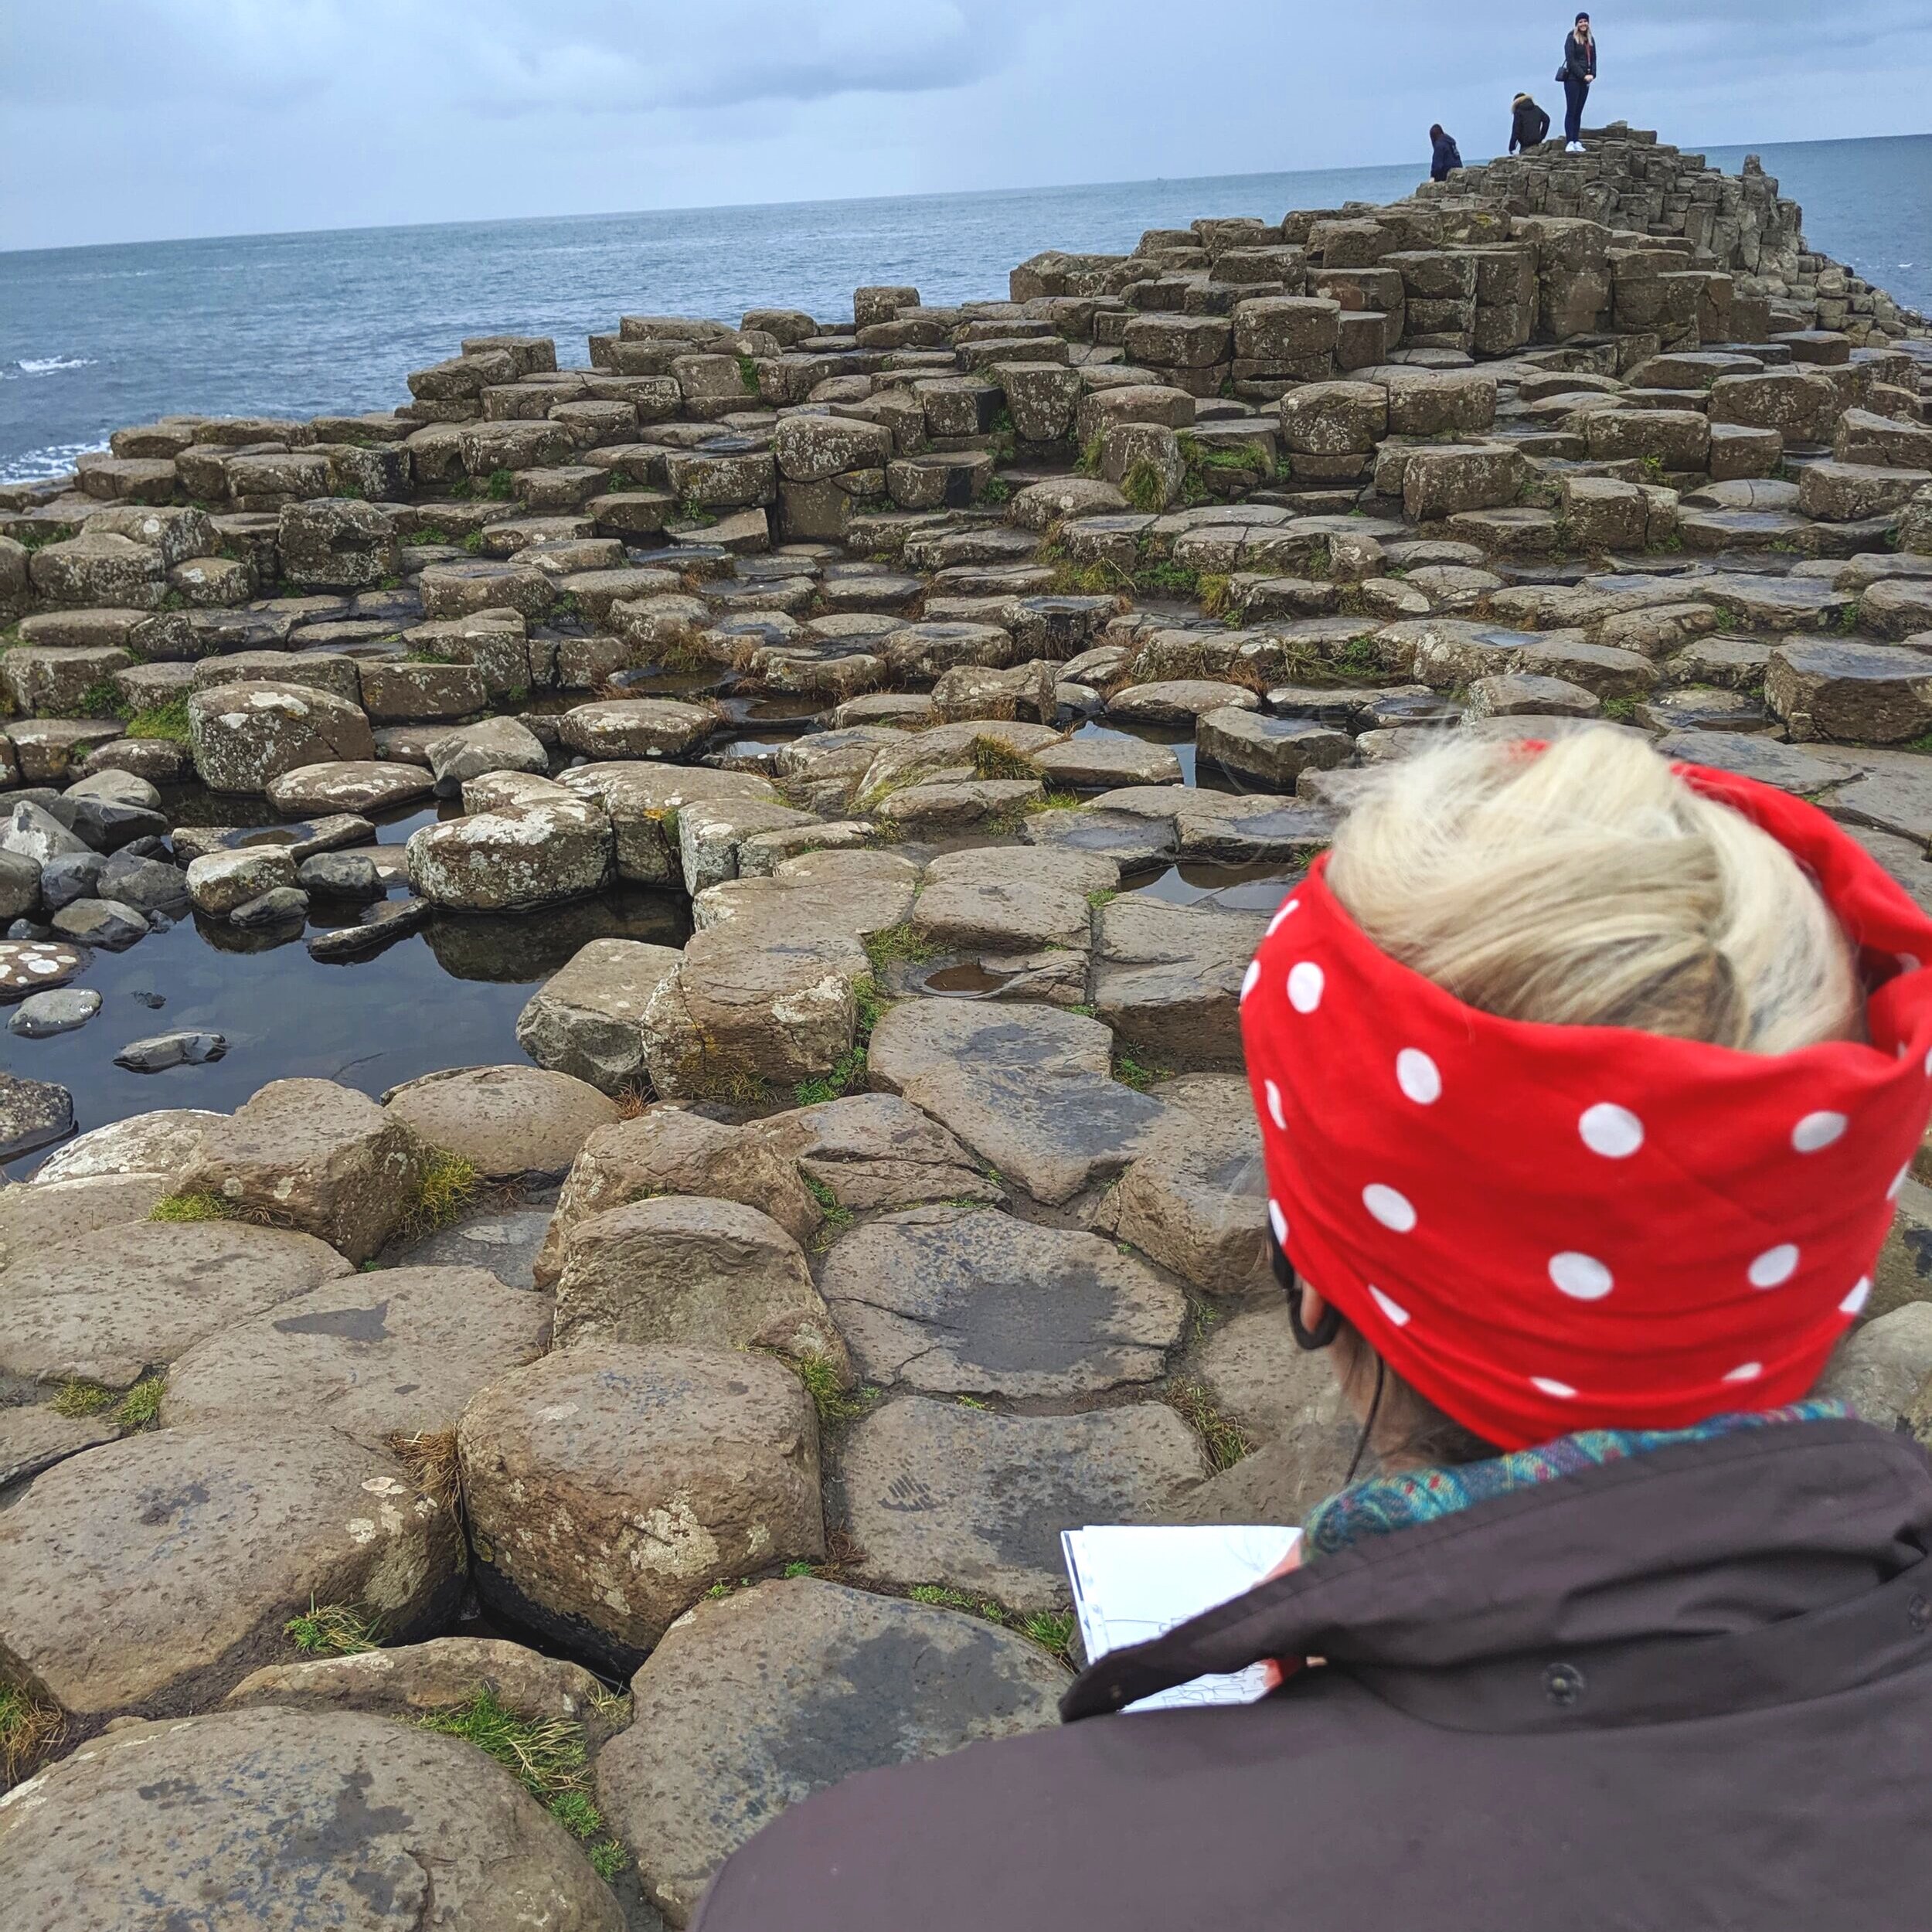
Your mobile phone camera can really help when you’re making a sketch or a painting. Now, I don’t mean you should copyfrom your mobile photo but use it to make some creative decisionsabout howyou’ll draw your sketch. And taking some initial photos means you’ll also have some handy reference picsto refer to if you run out of time on location or if the conditions outdoors change.
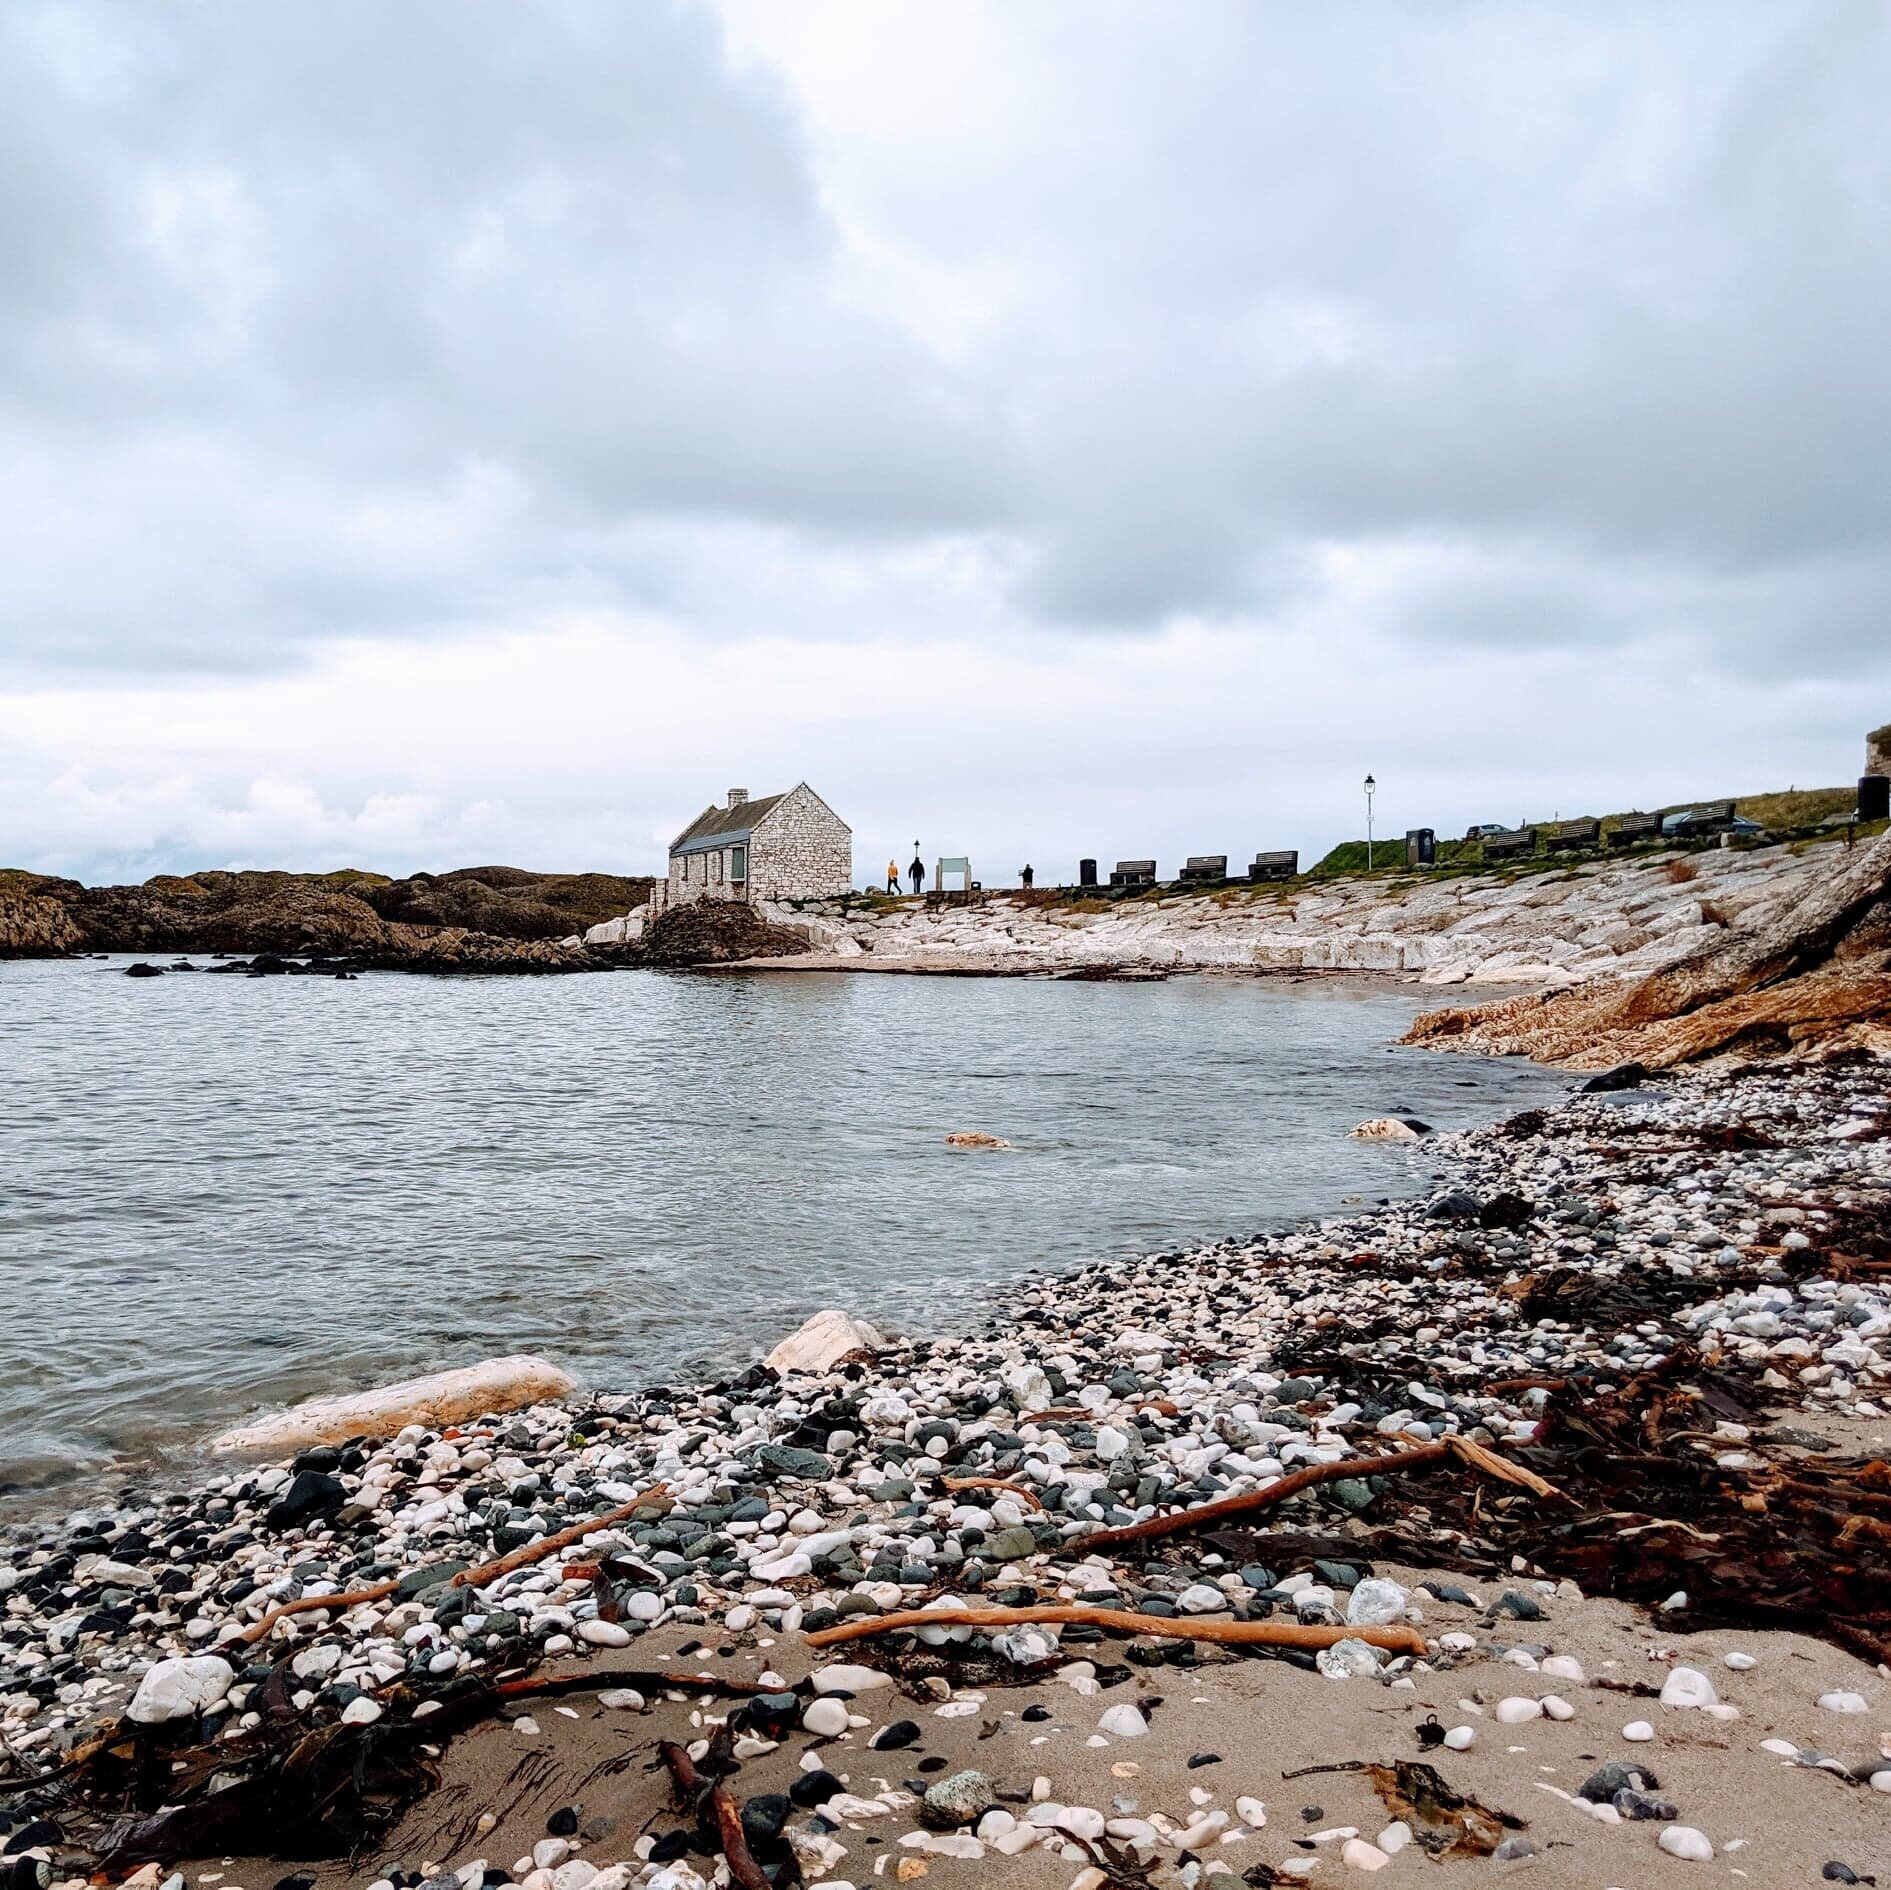
For instance, when you’re working outdoors the light and shadows move during the day (that amazing cottage, castle, tree, or mountain range you want to sketch will have shadows on one side in the morning, and on precisely the oppositeside in the afternoon!) so getting a couple of shots first of all can be really helpful to remind you of what you originally saw.
You can also try taking photos from different angles, as well as long shots, and zoom- in’s to get more in-depth information on your subject matter. So, if you’re sketching a boat on a beach, you could try shooting it from the side you want to draw it from, but also from the front, back and opposite side, too. This will give you (literally) a more rounded view of how the form is constructed and how all those curves work.
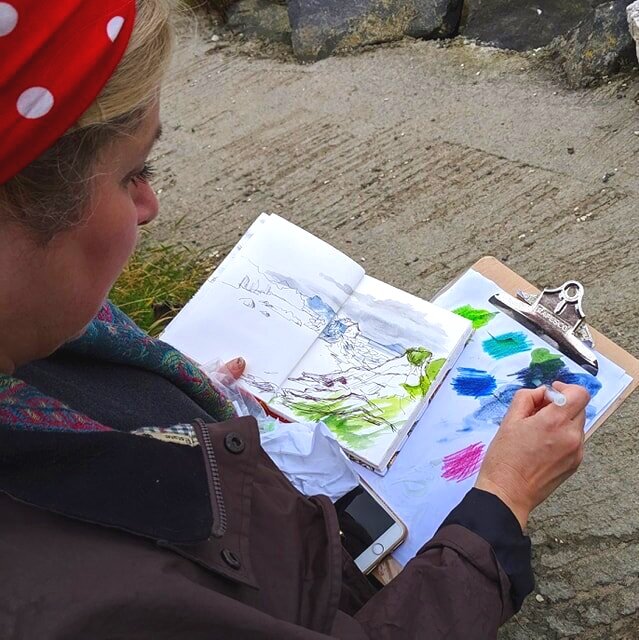
This is something I always do when I’m working on a portrait commission: first I make sketches and take supplementary photos of the person from life, and then use the sketches as primary sources for the painting. But the photos from other angles are really handy when I want to check the proportions of the subject’s eyes or nose, or the light and shadows. So, I don’t copy slavishly from the photo: that would make it a much stiffer, tight, flatter drawing, but the photos are definitely useful: not necessarily for detail, but for structure, shadows and colour.
So back to your outdoor sketching. Say, you’re really happy with the end result of your sketches and want to make a bigger painting from your sketch back at home, then those initial photos will also be really useful as extra visual information alongside your original drawing. (But as I mentioned before, only use the elements and details or colours you really needfrom the photos: don’t copy them or you’ll kill the life in your painting on the spot!)
And if those photo’s turn out to be a bit disappointing then I have a solution: have a look at: No 3 Using the Cropping Tool….
2. How to use the Grid Tool on your Camera Phone
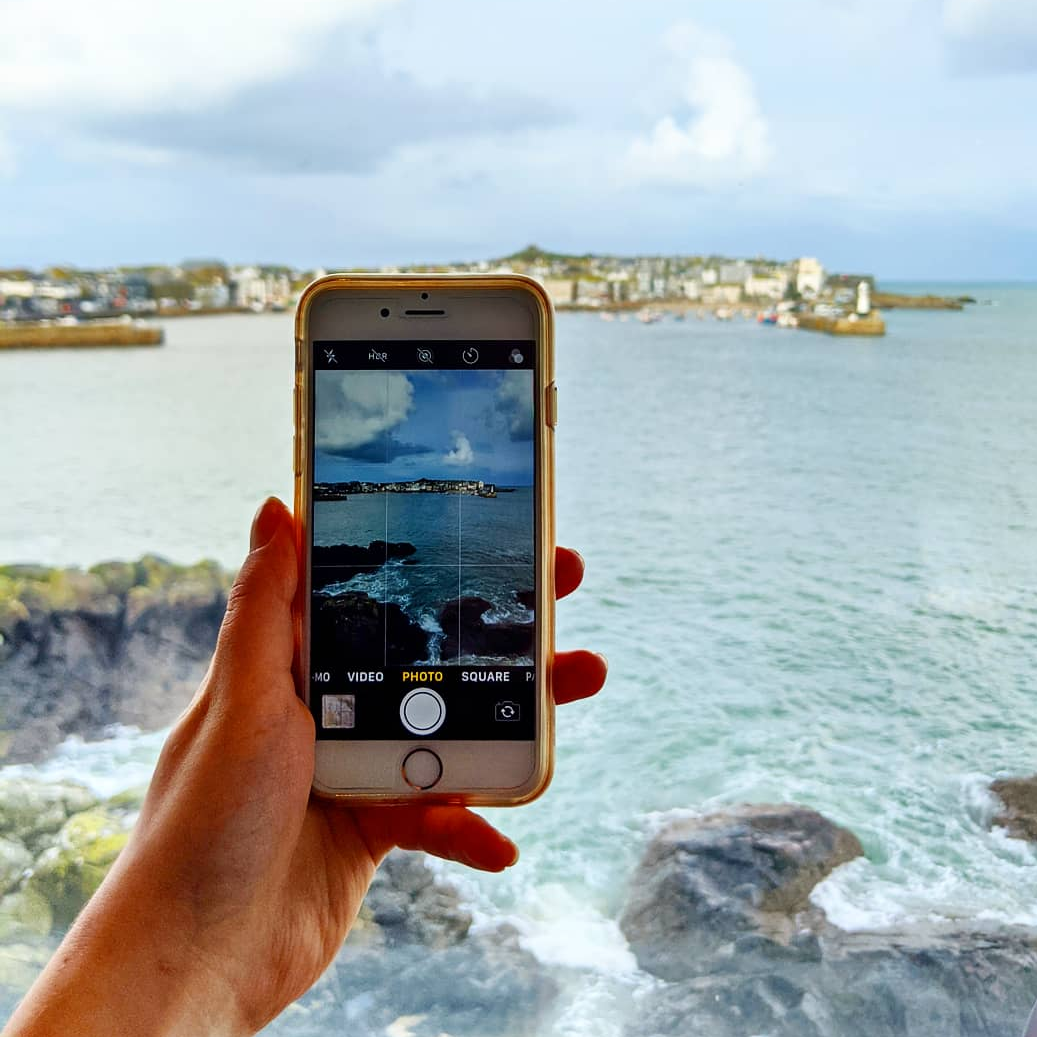
You can also use the grid option on your camera phone to create a better composition (the ways the elements of your drawing or painting are designed or placed on your paper or canvas.) This will improve the quality and interest of all your photo’s, including your every day pics as well as reference for sketching.
You may have heard of something called the Law of Thirds. It’s a helpful thing to use if you’re not sure how to place the elements in your drawing or painting.
If you divide the shape (format: so the rectangle of square) you are working in into thirds horizontally, and again vertically, you’ll create 9 equally sized smaller shapes. If you place the most important part (focal point) of your painting one of the intersections of lines it will be aesthetically pleasing.
You’ll notice that if you do this, your point of interest will not be slap bang in the middle of your photo but slightly to one side or the other. And that’s usually a good thing…
(But rules are made to be broken, so feel free to do your own thing if you prefer! #Rebel…)
Here’s how to put a grid on your camera phone:
• Go to your settings (insert “settings” icon)
• Scroll down to “Camera”
• Scroll down to “Grid” and click. On my I Phone it just has one grid design but on some Android phones you’ll have different options. Just choose the 3 x 3 option.
• Click back onto your camera icon and there should now be a grid imposed on your potential image whatever format of photo you’re taking. Yay!
Have you ever had that thing when you’ve been away on holiday and seen an amazing view, and thought, “Wow: I’d love to do a painting of this!” and taken a photo of it? But when you look at the photo later it doesn’t look at allinteresting?
It particularly happens when you’re photographing a huge vista. When it’s all reduced down to a little photo all those interesting details are so tiny you wouldn’t even know they were there!
I quite often use pics on my I Phone once I get back home, but here’s what I do to make them more interesting, to give me ideas, and use as a starting point for sketches and paintings.
If you’ve got a great photo in your mobile phone photo gallery, open it up and experiment with cropping bits off the edges to improve or completely change the composition before you start to sketch.
You can crop your photo so that it becomes a different format, e.g. change it from a landscape format into a square, or the other way round.
Or crop a lot of space off the top or bottom (or both) to make it a panoramic or letterbox format.
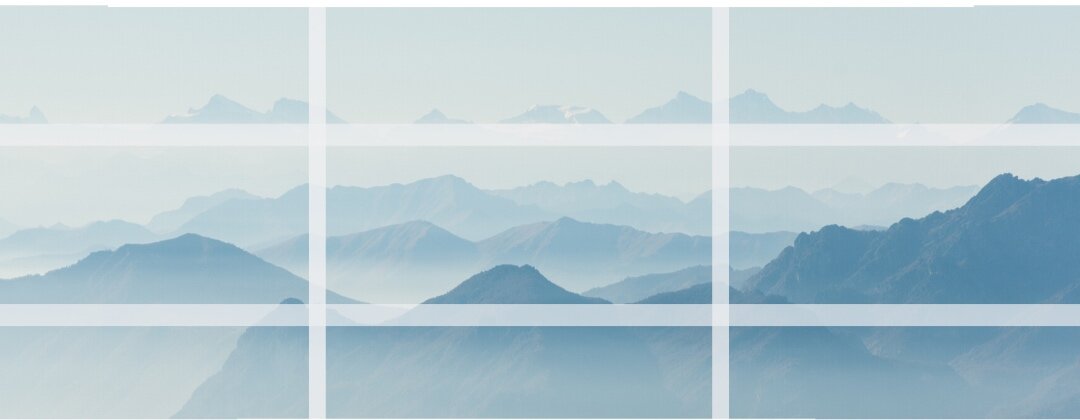
From this:

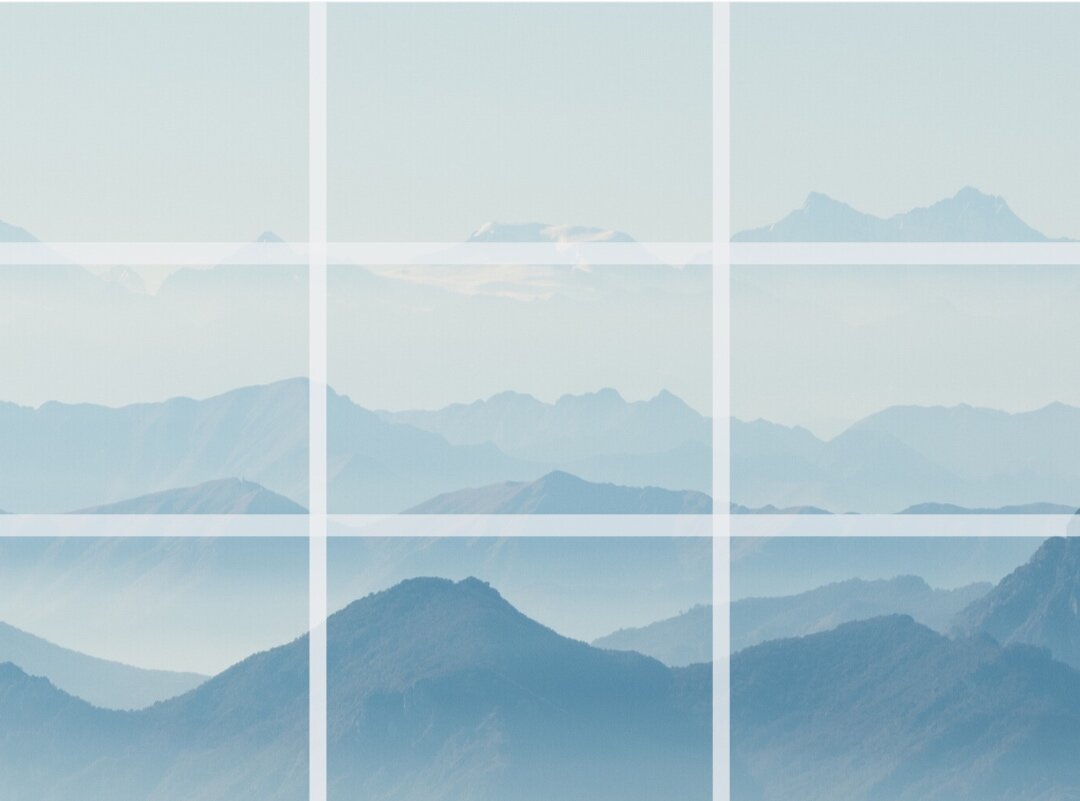
To this:
You can also zoom in on the photo first by cropping it, which will then make the most interesting part larger, and then think about cropping it again so that you can place the focal point ( the most interesting bit) on one of those intersecting lines of the grid we looked at above.
You can use the crop tool in the editing software on the phone to experiment with different formats.
So you can crop and turn your normal photo into a tall thin rectangle, a square, a letterbox as well as the typical A sized portrait or landscape format.
This gives you so many more options and ideas for making artwork from even just one photo.
Hope this post helps with your sketching!
Are there any other ways you use your camera phone to help your sketching? Let me know below, and let’s spread the knowledge...